How to Know When Fermentation Is Finished
Learn how to tell when beer fermentation is truly finished using gravity readings, expected FG, and a few practical checks before packaging.
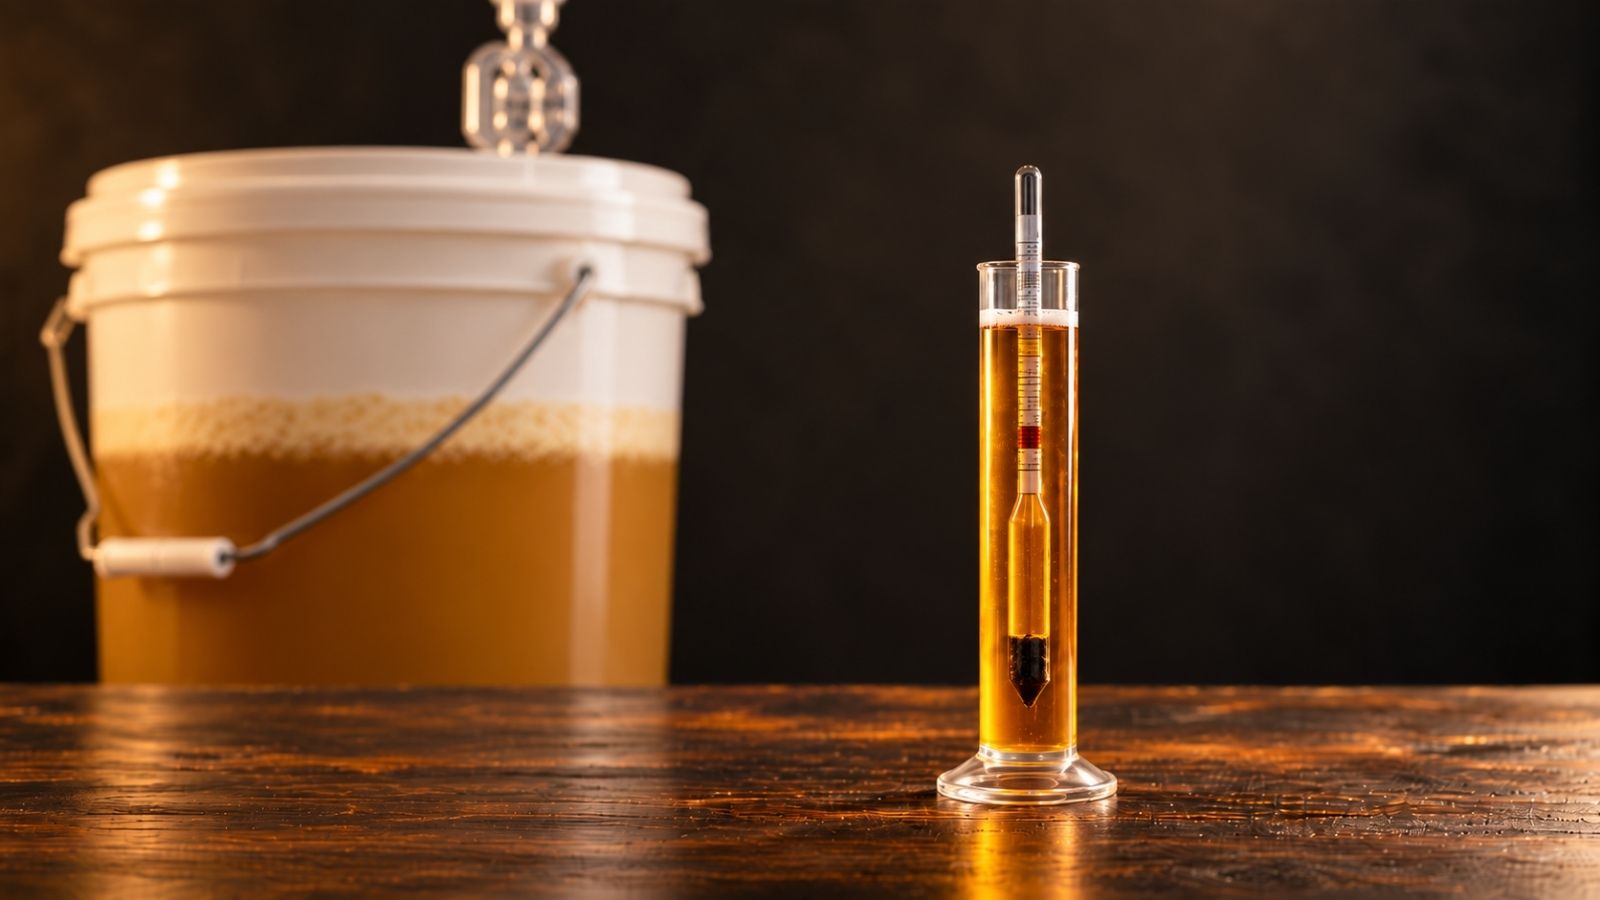
The airlock has stopped bubbling. The krausen has dropped. It has been seven days.
So, how do you know when fermentation is finished?
None of those things can tell you for sure. The key to how to know when fermentation is finished is to check the gravity, not just the airlock or the calendar. If the gravity has stopped falling and the number makes sense for the beer you brewed, fermentation is probably finished.
A beer can look completely quiet while fermentation is still moving along slowly. It can also reach a stable gravity that is higher than you expected. And even when gravity has stopped falling, there may occasionally be good reasons to give the beer a little more time before packaging.
Finished fermenting and ready to package are closely related, but they are not always exactly the same thing.
How to Know When Fermentation Is Finished: The Short Answer
Don’t decide that fermentation is finished because the calendar, airlock or krausen says so. Check the gravity.
Take a gravity reading when fermentation appears to be near the end, then take another later. The readings should be far enough apart that continued fermentation has had a reasonable chance to show up as a lower gravity. Readings taken only a few hours apart may simply be too close together to show a meaningful change.
For a normal ale fermentation, a day or two between checks is a useful practical starting point rather than a universal rule.
If the gravity is still dropping, fermentation is still progressing. If the readings match, the next question is whether that gravity makes sense for the beer.
A normal-strength ale that fermented actively and has settled close to its expected final gravity is very different from a beer that suddenly stopped at 1.030 after starting around 1.050. Both might give you two identical readings, but only one looks like a normal finished fermentation.
You don’t need a magical rule requiring exactly three readings over exactly three days. You need a stable reading that also makes sense in context.
If you’re still getting familiar with where fermentation fits into the whole process, my guide to how to brew beer at home covers the full journey from wort to packaging.
Why the Airlock Can’t Tell You
I understand why the airlock gets so much attention. It sits right there on top of the fermenter, making fermentation visible. Bubbles feel like activity, and no bubbles feel like no activity.
Unfortunately, an airlock doesn’t actually measure fermentation. It only shows that gas is moving through the airlock.
A fermenter that doesn’t seal perfectly can leak CO₂ somewhere else, so fermentation may continue with little visible bubbling. Temperature changes can also affect pressure inside the fermenter, and CO₂ already dissolved in the beer can come out of solution.
The krausen isn’t a reliable finish line either. Krausen is the foamy layer that forms on top of actively fermenting beer. It often rises during vigorous fermentation and drops later, so it tells you something about what has been happening. It just doesn’t tell you how much fermentable sugar is left.
The calendar has the same limitation. Seven days might be plenty for one fermentation and not enough for another. Yeast strain, temperature, how strong the beer is and the recipe itself can all affect how quickly fermentation progresses.
I use the visual signs as clues. They help tell me when it might be worth taking a reading.
I use gravity as the measurement.
Gravity Is the Useful Measurement
Specific gravity tells you how dense a liquid is compared with water. Wort — the sugary liquid before fermentation — contains dissolved sugars, so its gravity is relatively high. The measurement you take before fermentation is your original gravity, usually shortened to OG.
Once you add yeast, it consumes fermentable sugars and produces alcohol, CO₂ and other fermentation products. As fermentation progresses, the gravity falls. The gravity near the end of fermentation is usually called the final gravity, or FG.
The useful part is straightforward: if gravity is still falling, the beer is still changing. If repeated readings stay the same, the measured gravity has stopped falling.
If your beer starts at 1.050 and you measure 1.018, followed later by 1.014, fermentation is clearly still progressing. If you measure 1.011 and later get 1.011 again, that is much stronger evidence that it has reached its endpoint.
Gravity also gives you something an airlock can’t: a number you can compare with what you expected.
Make Sure the Gravity Reading Is Trustworthy
Before you use gravity to decide whether fermentation is finished, make sure the number itself is worth trusting.
Using a hydrometer
For checking beer near the end of fermentation, a hydrometer is usually the simplest instrument to interpret. It measures the density of the sample directly, although you need enough beer for the hydrometer to float freely.
Hydrometers are calibrated for a particular temperature. If your sample is substantially warmer or colder than that calibration temperature, the reading can shift. Check the calibration temperature for your hydrometer and correct the reading when needed. My Hydrometer Temperature Correction Calculator can do that calculation for you.
Using a refractometer
A refractometer is convenient because it only needs a tiny sample. Before fermentation, it’s relatively straightforward to use.
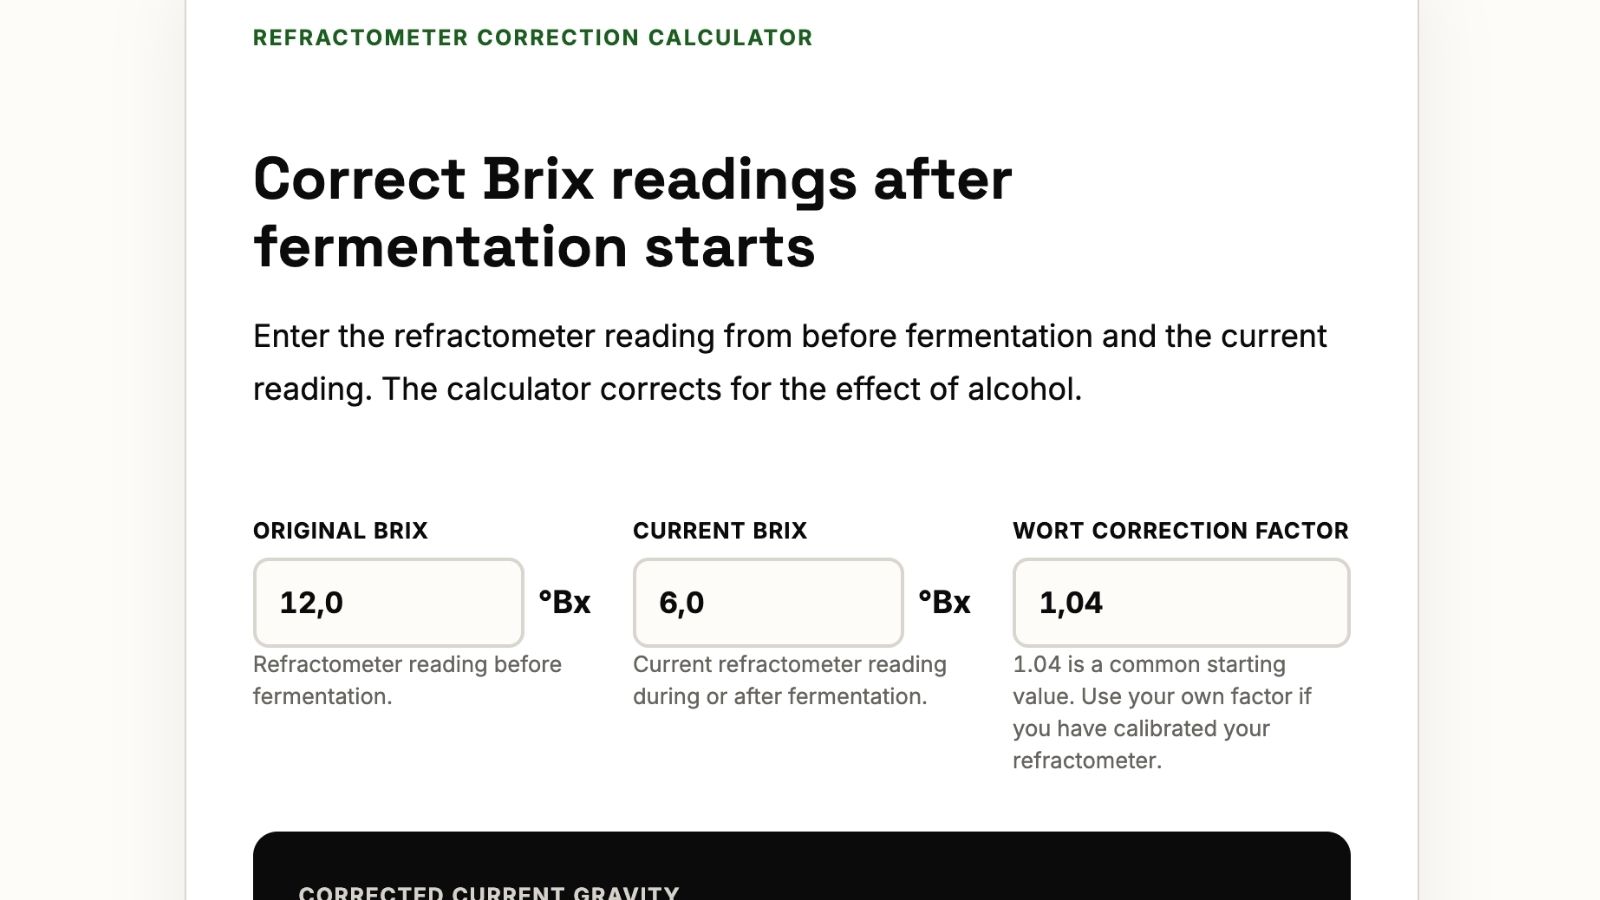
After fermentation starts, things change. Alcohol affects how light bends through the sample, so the raw refractometer reading no longer gives you the beer’s gravity directly. You need to correct it using the reading you took before fermentation together with the current reading.
Refractometers normally display Brix, a scale used to express sugar concentration. If you plan to use a refractometer to follow fermentation, make a note of your original refractometer reading before fermentation starts. You’ll need that information for the correction later.
My Refractometer Correction Calculator handles that correction.
With a reading you can trust, the next question is whether it has stopped moving.
How I Check Whether Gravity Is Stable
When I’m deciding how to know when fermentation is finished, I don’t start by taking samples every few hours. I wait until fermentation appears to be close to the end before I start taking final-gravity samples. Maybe the krausen has fallen, visible activity has slowed dramatically, or I know from previous batches that this particular yeast is normally nearing the end around this point.
I don’t see much value in opening the fermenter and pulling samples every day just because I can. Each sample costs a little beer, and opening the fermenter unnecessarily creates another opportunity for contamination or oxygen exposure.
I take a gravity reading and make a note of it. If it is still clearly higher than expected, I don’t immediately assume something has gone wrong. I let the beer continue and take another reading later.
For a normal ale, a day or two between readings is a useful starting point. For a slower, colder or unusually strong fermentation, I may give it more time. The exact number of hours isn’t the important part. I want enough time between readings that continuing fermentation has a reasonable chance to show up as a measurable drop.
If the second reading is lower, I wait. If it is unchanged, I ask another question: does this result make sense for the beer?
Stable tells you that the measured gravity isn’t changing. It doesn’t tell you why it stopped where it did.
What Final Gravity Should You Expect?
Most recipes give you an estimated final gravity. That number is useful, but it isn’t an exact target the yeast has promised to hit.
Final gravity depends on several things, including the ingredients in the recipe, how fermentable the wort became during the mash, the yeast strain and the conditions during fermentation.
Yeast manufacturers often describe a strain’s expected attenuation. Attenuation is simply a way of describing how much the gravity falls during fermentation. But yeast can only ferment sugars it can actually use, so two worts fermented with the same yeast won’t necessarily finish at exactly the same gravity.
That’s why I treat expected FG as a reference point rather than a pass-or-fail number. If I expect roughly 1.011 and the beer finishes at 1.012 or 1.013 after an otherwise healthy fermentation, I’m not going to chase the calculator just to make the numbers match.
If a 1.050 beer stops at 1.030, that’s different. I want to know why.
What If Gravity Is Higher Than Expected?
A higher-than-expected gravity doesn’t automatically mean fermentation has stalled.
First, make sure the reading itself is trustworthy. If you used a hydrometer, check sample temperature and the hydrometer’s calibration. If you used a refractometer, make sure you’re looking at a corrected reading rather than raw Brix.
Before diagnosing a fermentation problem, make sure you aren’t really diagnosing a measurement problem.
Next, check whether gravity is genuinely stable. If it is still dropping, the beer isn’t stalled. It may simply be fermenting more slowly than you expected.
Temperature matters here. Yeast strains have recommended fermentation ranges, and activity can slow when conditions are cool for the strain you’re using. I prefer checking the manufacturer’s information for the actual yeast in the fermenter rather than relying on one generic temperature rule for all ale or lager yeasts.
If the measurement is reliable and gravity has stopped moving, the wort itself may explain the result. Recipe formulation and the way the wort was produced affect how much of it the yeast can actually ferment.
Software makes an estimate. The yeast ferments the wort you actually made.
Only when the reading is accurate, clearly stable and unexpectedly high does a stalled or incomplete fermentation become a more serious possibility.
At that point I look at the whole fermentation before trying to fix it. What yeast did I use? What temperature is the beer actually at? Did fermentation start and progress normally? How strong was the wort? Does the strain’s normal performance fit what I’m seeing?
I wouldn’t automatically shake the fermenter, raise the temperature or add more yeast just because the number looks wrong. First work out what the evidence is telling you. Then decide whether anything actually needs fixing.
Stable Gravity Doesn’t Always Mean Package It Immediately
Say the gravity is stable and the number makes sense. Is the beer ready to package?
Often, yes. But not always immediately.
Gravity tells you whether the measured density is still changing. It doesn’t tell you that every other process involving the yeast has finished at exactly the same moment.
Diacetyl is one useful example. It can give beer a buttery or butterscotch-like character, and compounds involved in its formation are part of normal yeast metabolism. Healthy yeast can reduce diacetyl toward the end of fermentation and during the period afterward.
This is especially familiar to lager brewers, where keeping the yeast active near the end of fermentation can help reduce diacetyl. That doesn’t mean every ale needs an arbitrary extra week in the fermenter.
If gravity is stable, the number makes sense and the beer has fermented normally, there is usually no need to invent a long waiting period “for cleanup.” But there is rarely much benefit in racing to package at the earliest possible minute either.
Dry hopping adds another wrinkle
For hoppy beer, dry hopping can change the picture.
Hops can contribute enzymes that break some longer carbohydrates into sugars the yeast can ferment. If enough live yeast is still present, this can cause fermentation to move again after dry hopping. Brewers call this hop creep.
Not every dry-hopped beer will show a meaningful amount of it, but a gravity reading that was stable before a large dry-hop addition doesn’t necessarily prove that the beer will still be stable afterward.
For a heavily dry-hopped beer, I want my final gravity check before packaging to reflect what happened after the dry hops went in, not just what happened before them.
That’s especially important if the beer is going into bottles.
If you want to go deeper on timing, oxygen, contact time and hop creep, I have a separate guide to dry hopping.
When Is It Safe to Bottle?
Bottle conditioning works because you add a measured amount of fermentable sugar before sealing the bottle. The remaining yeast ferments that sugar and produces CO₂, which carbonates the beer.
That calculation assumes the main fermentation has already finished. If the beer still contains fermentable sugar that the yeast continues to consume, you’ll get CO₂ from that fermentation as well as from the priming sugar. The result can be more carbonation and more pressure than you intended. In extreme cases, that pressure can damage or break glass bottles.
So before bottling, I want gravity to be stable and the result to make sense. If something happened late in the process that could restart fermentation — such as a substantial dry-hop addition — I want the final check to account for that too.
I’d rather spend another day or two confirming what the beer is doing than discover the answer after the caps are on.
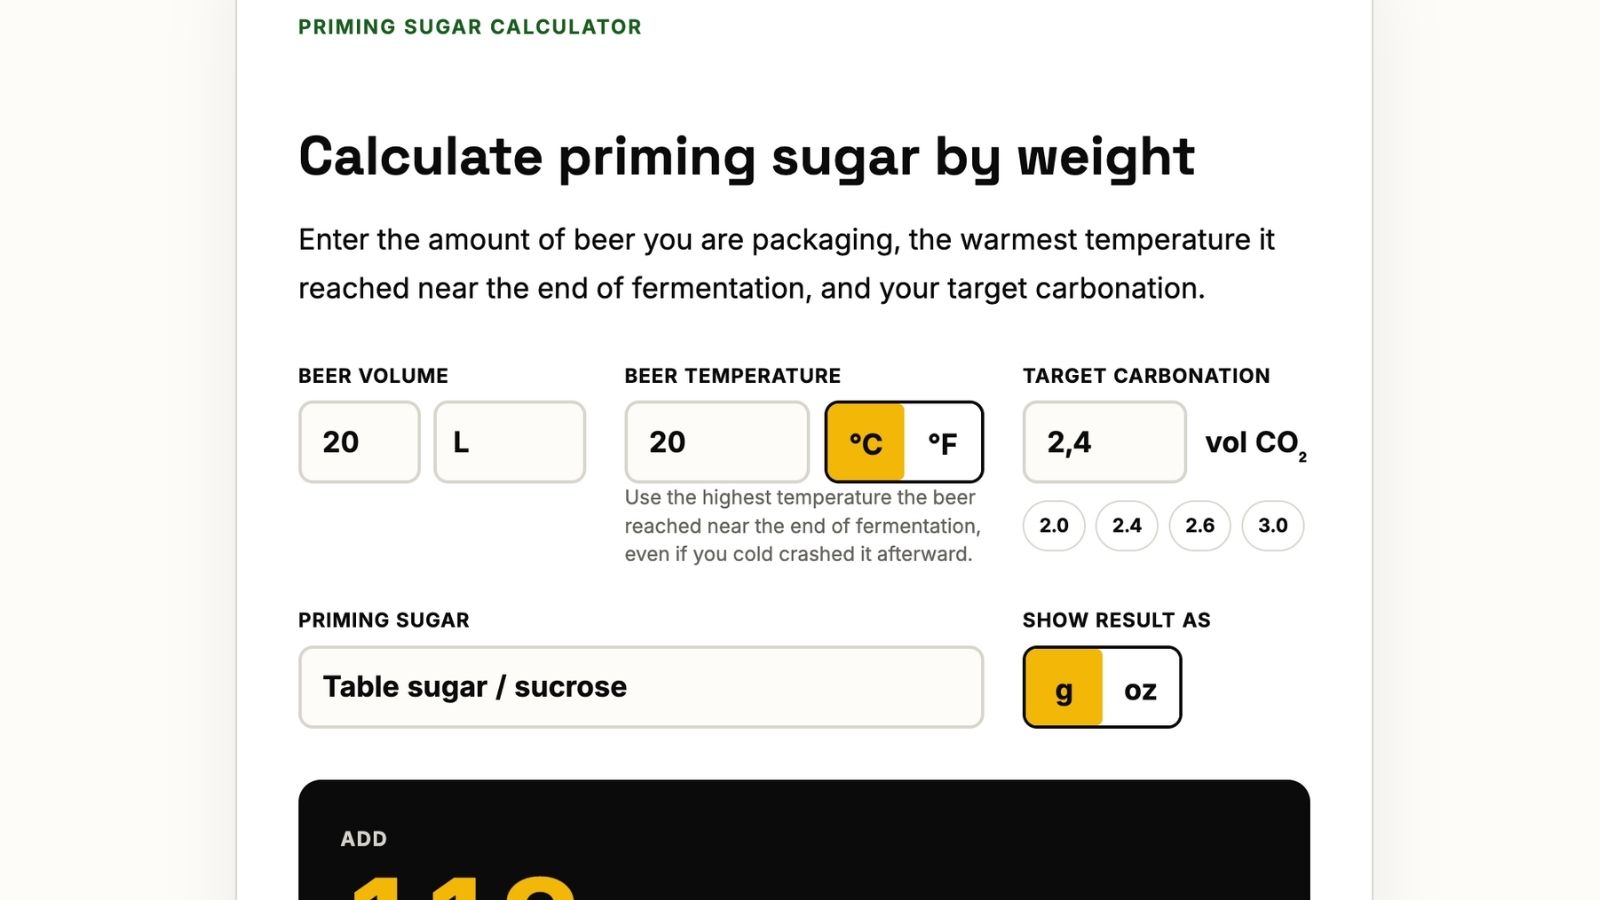
Once the beer is actually ready to bottle, my Priming Sugar Calculator can help work out how much priming sugar to use.
What About Kegging?
Kegging gives you much more control over carbonation and pressure than bottle conditioning, but it doesn’t change whether primary fermentation has finished.
If fermentation continues after the beer goes into the keg, gravity, alcohol, flavour and carbonation can continue to change. A keg makes that situation easier to manage than sealed glass bottles, but I’d still rather know what the beer is doing before I package it.
A Simple Rule of Thumb
Don’t let the calendar or the airlock make the packaging decision for you.
Check the gravity. Make sure it has stopped falling. Make sure the number makes sense. Then decide whether the beer needs any more time before you package it.
The airlock can help tell you when it might be worth checking again. Gravity tells you whether measurable fermentation is still changing the beer.
References
- American Homebrewers Association — How to Take an Accurate Hydrometer Reading — Accessed 2026-10-07.
- Brew Your Own — Understanding & Using Refractometer — Accessed 2026-10-07.
- Brewers Association — How To Manage Off Flavors in Beer: Diacetyl — Accessed 2026-10-07.
- Brewers Association — Hop Creep – Technical Brief — Accessed 2026-10-07.
- John Palmer — How to Brew: Priming and Bottling — Accessed 2026-10-07.