How to Brew Beer at Home: The Whole Process Explained
A practical guide to brewing beer at home, from malt and wort to fermentation, packaging, and the first glass.
If you want to learn how to brew beer at home, it can look more complicated from the outside than it really is.
There are mash temperatures, gravity readings, pumps, hoses, fermentation chambers, carbonation pressures, and enough shiny stainless steel equipment to make it look like you need a small engineering degree before you can make your first beer.
You don’t.
The basic process is fairly simple. You get sugar from malt. You make a sweet liquid called wort. You boil it and add hops. You cool it down, add yeast, and give the yeast time to turn that wort into beer. Then you package and carbonate it.
That’s the basic journey from grain to glass.
There are plenty of things you can learn and fine-tune later. That’s part of what makes homebrewing such a good hobby. For now, what matters is understanding what happens at each stage and why you’re doing it.
The Big Picture: From Grain to Glass
If you strip homebrewing down to the main steps, the process looks something like this:
Malt → Mash → Wort → Boil and hops → Chill → Yeast → Fermentation → Packaging → Carbonated beer
The first half of the process is mostly about making wort. The second half is about letting yeast turn that wort into beer, then getting the finished beer into bottles or a keg.
That distinction is useful because brew day itself doesn’t actually produce finished beer. Brew day produces the wort.
The yeast does a rather important part of the work after you’ve cleaned up and walked away.
The Four Main Ingredients in Beer
Most beer starts with four basic ingredients: water, malt, hops, and yeast. Each has a different job.
Water
Beer is mostly water, so naturally it matters. You can go very deep into brewing water and water chemistry, but that’s something to explore later if you want more control over your beer.
For your first batches, start with clean drinking water that tastes good.
Malt
The malt used in beer is usually grain, most commonly barley, that’s been prepared specifically for brewing. During the brewing process, starch in the malt is turned into sugars that the yeast can later use.
Different malts also contribute color and flavor. Pale malt might form the base of an IPA or pale ale, while darker malts can move a beer toward amber, brown, or almost black.
For now, the important part is simple:
Malt is where the sugar comes from.
Hops
Hops add bitterness, flavor, and aroma. That bitterness helps balance the sweetness from the malt, while the flavor and aroma can range from subtle and herbal to citrusy, fruity, resinous, or something entirely different.
Exactly what the hops contribute depends on which hops you use, how much you add, and when you add them. A recipe will tell you what to add and when.
Yeast
Yeast is what turns wort into beer. It uses much of the sugar in the wort and produces alcohol and carbon dioxide along the way.
Yeast also influences how the finished beer tastes, which is one reason different beers use different yeast strains. For your first batch, choose the yeast specified in the recipe, follow its instructions, and give it a sensible temperature to work at.
How to Brew Beer at Home, Step by Step
There are several ways to brew beer at home.
You can brew with malt extract, where much of the work of turning grain into wort has already been done for you.
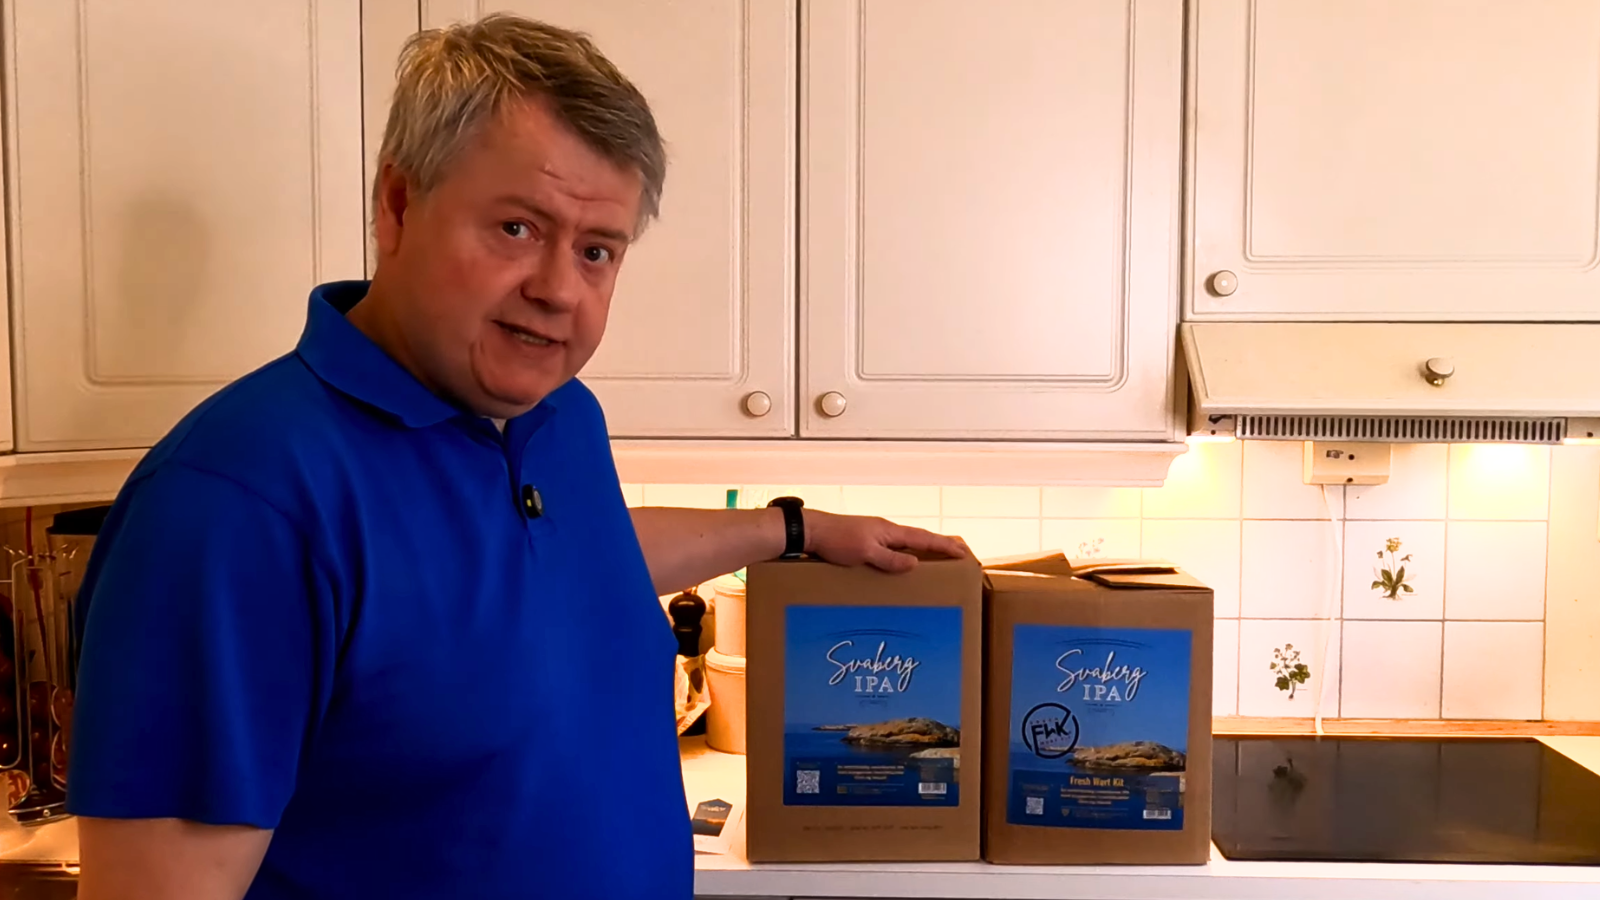
Another option is a Fresh Wort Kit, where the wort has already been brewed for you, so you can skip most or all of brew day and move straight to fermentation by following the kit instructions.
Or you can brew all-grain, where you start with crushed malt and make the wort yourself.
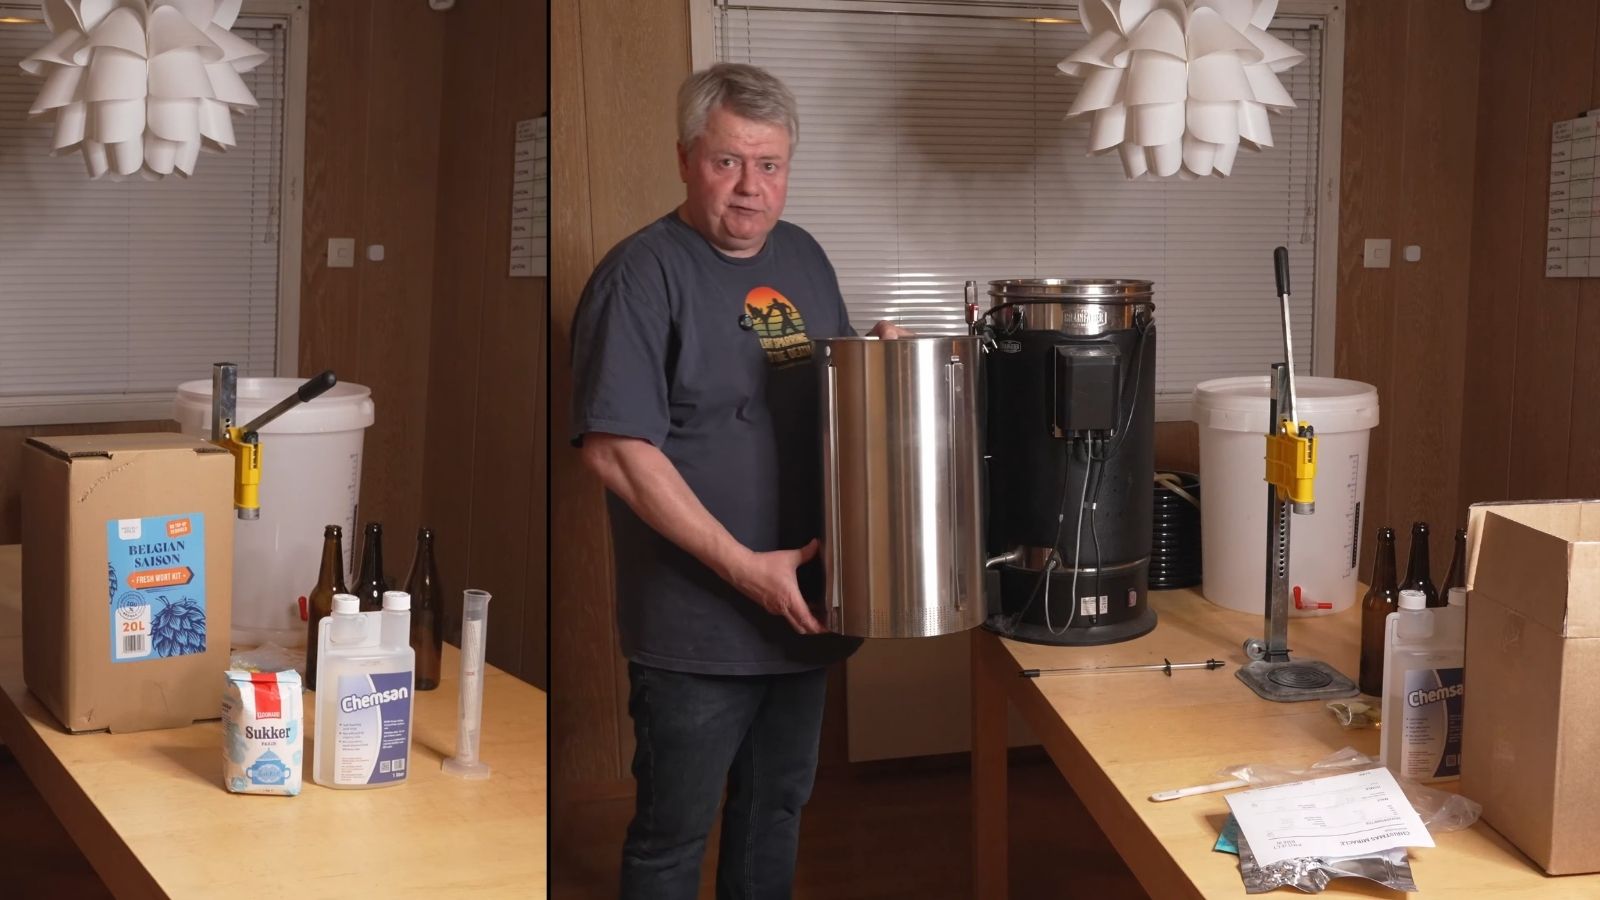
BIAB — Brew in a Bag — is one popular way to do all-grain brewing with relatively simple equipment. Other brewers use a separate mash tun, while all-in-one brewing systems combine much of the process into one unit.
For the rest of this guide, I’ll mostly describe all-grain brewing because it shows the complete journey from malt to beer.
1. Milling the Malt
Before mashing, the malt is crushed. The goal isn’t to turn it into flour. You simply need to break the grains open so the water can get to what’s inside.
If you buy a complete recipe kit, the malt can often be ordered already crushed. Many homebrew shops will happily crush it for you, so a grain mill doesn’t need to be one of your first purchases.
2. Mashing
The crushed malt is mixed with warm water and held at a chosen temperature for a period of time. This is the mash.
During the mash, starch in the malt is turned into sugars that dissolve into the water. Those sugars will later become food for the yeast.
A recipe might, for example, tell you:
Mash at 66°C for 60 minutes.
That’s an example, not a universal mash temperature. Different recipes may specify something else.
For a first brew, follow the temperature and time in the recipe and concentrate on getting reasonably close to the target.
3. Separating the Wort From the Grain
Once the mash is finished, you need the liquid and no longer need the grain. That liquid is your wort.
How you separate them depends on your equipment. With BIAB, you lift the bag of grain out of the kettle. With a traditional mash tun, you drain the wort from the grain bed. With an all-in-one system such as the Grainfather, you usually lift a malt pipe or basket and allow it to drain.
Some brewing methods also rinse the grain with additional hot water. This is called sparging, and it helps collect more of the sugars left around the grain.
Not every brewing setup does this in exactly the same way. BIAB, for example, can be done without a separate sparge at all.
The equipment and method may differ, but the goal is the same:
Collect the wort you need for the boil.
4. Boiling the Wort and Adding Hops
Next, the wort is brought to a proper boil, and the hops go in according to your recipe.
A simple hop schedule might say:
20 g hops — 60 minutes
30 g hops — 10 minutes
If the total boil is 60 minutes, the first addition goes in when 60 minutes remain. The second goes in when 10 minutes remain.
Earlier additions generally contribute more bitterness, while later additions are often used when you want more hop flavor and aroma. Follow the hop schedule in the recipe and let it do the complicated thinking for you.
The boil also gives you a hot, steamy kettle containing many liters of liquid. Make sure the kettle is stable, keep hoses and electrical cables organized, and be especially careful if you need to move anything while the wort is hot.
A 25-liter kettle of near-boiling wort isn’t something you want to discover is heavier than expected halfway through lifting it.
5. Chilling the Wort
When the boil is finished, the wort has to cool before the yeast goes in.
Many homebrewers use an immersion chiller, where cold water runs through a coil placed in the wort. All-in-one systems may use a counterflow chiller, and there are other methods as well.
The right target temperature depends on the yeast, so check the packet, the manufacturer’s instructions, or the recipe. From here on, anything that touches the wort needs to be properly cleaned and sanitized.
6. Moving the Wort Into the Fermenter
Once the wort is cool, it’s transferred into the fermenter.
A fermenter can be a simple food-grade plastic bucket with a lid, a purpose-built plastic fermenter, a stainless steel vessel, or something much more elaborate. For a beginner, it mainly needs to hold the batch, be easy to clean, and let fermentation gas escape safely, usually through an airlock, a small device that lets gas out while limiting what can get back in.
A simple fermenter can make very good beer.
7. Adding the Yeast
Adding yeast to the wort is usually called pitching the yeast.
Sanitize whatever needs to be sanitized, add the yeast according to the instructions for that product, and close the fermenter. Fermentation can begin.
Brew Day Is Mostly Process and Waiting
A brew day sounds very active when you list every step. In reality, quite a bit of it is waiting for something.
You wait for the water to heat, mash, wait again, drain the wort, heat it, boil, make hop additions at the right time, chill, transfer, and clean.
There are moments when you need to pay attention, especially around heating, the start of the boil, hop additions, chilling, and transfers. But you’re not performing some complicated manual operation every second for an entire afternoon.
Once you know your equipment and have brewed the same process a few times, the brew day develops a rhythm. That’s one of the things I enjoy about it. I can make measurements and adjust things when needed, but much of the time the brewery is simply doing what I asked it to do.
And there’s usually cleaning to get on with while I wait.
There’s always cleaning.
Cleaning and Sanitizing Are Two Different Jobs
This is one habit worth getting right from the beginning.
Cleaning removes dirt and residue. Sanitizing reduces the microorganisms you don’t want getting into your wort or beer.
You can’t effectively sanitize equipment that’s still dirty, but neither job needs to be complicated.
Clean your brewing equipment after use so residue doesn’t dry onto it. Before cooled wort or beer touches equipment, make sure those surfaces are clean and use a suitable brewing sanitizer according to its instructions.
Treat cleaners and sanitizers as the chemicals they are. Follow the concentration, contact-time, rinsing, and safety instructions on the label, and don’t mix different products unless the manufacturer specifically says it’s safe to do so.
I have a separate guide on cleaning and sanitizing homebrew equipment because it’s worth understanding properly. For now, remember the simple version:
Clean first. Sanitize second.
Fermentation Is Still Part of Brewing
It’s tempting to think of fermentation as the part where the beer sits in a corner while you wait. Quite a lot is happening in that corner.
The yeast is working through the sugars in your wort and changing it into beer. Your main job is to give it sensible conditions and enough time.
Different yeast strains are designed to work within different temperature ranges, so check the information for the yeast you’re actually using.
You don’t need sophisticated temperature control for your first batch, but it’s worth thinking about where the fermenter will sit. A room that swings from 14°C at night to 27°C in the afternoon is a much less predictable place for fermentation than somewhere with a steadier temperature.
If you enjoy the hobby, better fermentation temperature control can become a very useful upgrade later.
What You Actually Need to Measure
Homebrewing can become a hobby full of measurements. You can measure water chemistry, pressure, flow rates, pH, and plenty more.
For a first batch, I’d concentrate on four things: temperature, volume, original gravity, and final gravity.
Temperature
Temperature matters during the mash, before adding yeast, and during fermentation.
You don’t need laboratory precision. You do need a thermometer you trust enough to know whether your 66°C mash is somewhere around 66°C rather than 55°C or 75°C.
Volume
Know roughly how much water you start with, how much wort you have before and after the boil, and how much reaches the fermenter.
You’ll lose some liquid along the way. Grain holds onto water, some water boils away, and some wort stays behind with hops and other material in the kettle. Those losses are normal.
Writing down your volumes teaches you how your own brewing system behaves, and that becomes useful surprisingly quickly.
Original Gravity
Original gravity, usually shortened to OG, is a measurement taken before fermentation.
It tells you how dense the wort is compared with water and gives you an indication of how much dissolved sugar is in it. A recipe might have a target such as:
OG: 1.050
You can measure this with a hydrometer, a simple floating tool that measures how dense the liquid is, or with a refractometer. For your first batches, you’re mainly checking where your wort ended up compared with the recipe.
A refractometer only needs a few drops, which makes it handy on brew day. If you use one once fermentation has started, the reading needs to be corrected because alcohol is now present. That’s what a Refractometer Correction Calculator is for.
Final Gravity
Final gravity, or FG, is the gravity once fermentation has finished. As the yeast uses sugar, gravity normally falls.
Comparing your original and final gravity also lets you estimate the alcohol level of the finished beer with an ABV Calculator.
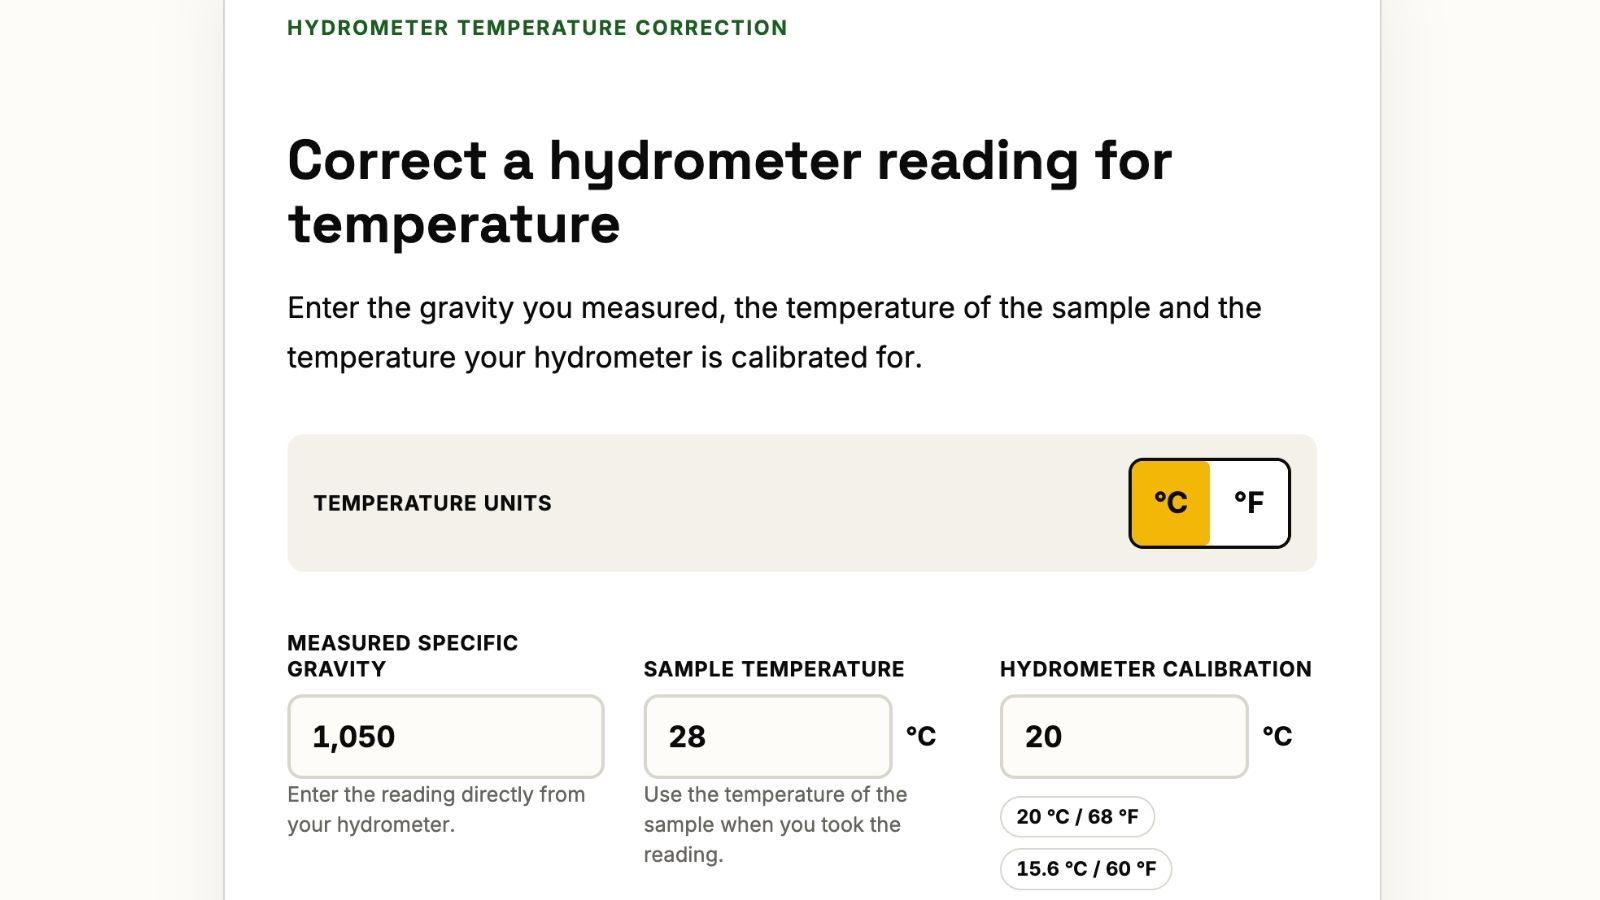
A basic hydrometer is enough to get started. Hydrometers are calibrated to give their correct reading at a particular temperature, so if your sample is much warmer or colder than the calibration temperature, a Hydrometer Temperature Correction Calculator can help.
When you take a fermentation sample, use clean, sanitized equipment and don’t pour the sample back into the fermenter.
Taste it instead.
It’s another useful way to learn what’s happening to the beer.
And because many hydrometers are made of glass, handle them like glass. They have an impressive ability to roll off exactly the counter you thought was level.
How Do You Know Fermentation Is Finished?
Watching the airlock bubble can be strangely satisfying. I understand the temptation.
But bubbling only tells you that gas is moving. A quiet airlock doesn’t necessarily mean fermentation has stopped either, because gas can also escape through a lid that isn’t completely airtight.
When you think fermentation is finished, take a gravity reading and another one a day or two later. If the number has stopped changing and is close to the final gravity your recipe expects, that’s a much better sign that fermentation is complete.
No calendar rule works for every beer. Different beers and different yeasts behave differently, so the important point is to measure what the beer is doing rather than guessing from the calendar or the airlock.
That matters especially before you bottle your beer. If fermentation is still going when you seal the beer in bottles, the yeast can continue producing carbon dioxide and pressure can build beyond what you intended.
Conditioning: Giving the Beer a Little Time
Once the main fermentation is finished, the beer may benefit from some additional time before packaging or drinking. That extra time is often called conditioning.
In simple terms, you’re giving the beer some time to settle and mature. How much time it needs depends on the beer, the yeast, and the recipe, so there’s no single conditioning schedule worth memorizing for every beer you’ll ever brew.
Packaging the Beer
Eventually, the beer needs somewhere to go. For most homebrewers, that means bottles or a keg.
Bottle Conditioning
When bottle conditioning, you add a carefully measured amount of priming sugar before sealing the beer in bottles. The remaining yeast uses that sugar and produces carbon dioxide. Because the bottle is sealed, the gas dissolves into the beer and creates carbonation.
The amount of sugar matters, so calculate it for the amount of beer you’re actually packaging and weigh the sugar rather than measuring it by volume. A Priming Sugar Calculator makes this much easier.
Too little sugar can leave the beer flatter than intended. Too much sugar — or bottling beer that hasn’t finished fermenting — can create excessive pressure.
Use bottles intended for carbonated drinks and discard damaged or questionable bottles. Glass under pressure deserves respect.
After bottling, keep the bottles at a suitable room temperature rather than putting them straight into the refrigerator. The yeast still has work to do. Carbonation usually takes weeks rather than days, depending on the beer, yeast, temperature, and priming sugar.
Chill one bottle and try it before you chill the rest.
Kegging and Force Carbonation
With kegging, the beer is transferred into a pressure-rated keg. You can then connect bottled CO₂ and use gas pressure to carbonate the beer.
A Force Carbonation Calculator can help you choose an appropriate pressure based on the beer temperature and the carbonation level you want.
Kegging is convenient, and if you like gadgets it can become its own little hobby surprisingly quickly. But it’s not required. Plenty of excellent homebrew is packaged in bottles.
If you use CO₂ cylinders and kegs, you’re working with both pressurized equipment and compressed gas. Use pressure-rated equipment in good condition, secure the cylinder properly, and make sure CO₂ can’t accumulate in an enclosed, poorly ventilated space. Enough CO₂ in a confined area can displace the oxygen you need to breathe.
What Equipment Do You Actually Need?
It’s very easy to look at somebody else’s brewery and conclude that homebrewing requires pumps, stainless steel tanks, electronic controllers, and enough tri-clamp fittings to rebuild a small dairy.
It doesn’t.
There’s no single right way to learn how to brew beer at home, and your equipment can be as simple or as elaborate as you want it to be.
The exact equipment depends on how you choose to brew, but the basic jobs remain the same. You need a way to heat the wort, somewhere to ferment it, basic cleaning and sanitizing equipment, a thermometer, and some tubing or another sensible way to move liquid.
You also need a way to package the beer: bottles and a capper, or a keg.
I’d strongly recommend a hydrometer too. The beer can certainly ferment without you measuring it, but you’ll learn much more about what’s happening if you do.
Then your brewing method determines the rest.
If you want to go deeper into that part, I’ve broken down the homebrewing equipment you actually need for fresh wort kits, extract and all-grain brewing.
A Simple Pot Setup
Extract brewing can be done with relatively simple equipment because you’re starting with malt extract rather than making all of the wort from grain yourself.
This can be a very approachable way to make your first beer.
BIAB
Brew in a Bag lets you make all-grain beer with a kettle and a large mesh bag rather than a separate mash tun.
This is where I started. It’s simple, relatively inexpensive, and teaches you the whole all-grain process without requiring a brewery full of equipment.
A Separate Mash Tun
A mash tun gives you a dedicated vessel for the mash. In a traditional three-vessel system, the mash tun sits alongside a separate vessel for heating brewing water and another kettle for the boil.
That kind of setup takes more space and equipment than BIAB or an all-in-one system, but the basic brewing process is still the same.
I built my own mash tun after brewing BIAB. It gave me a different way to handle the process and, because this is homebrewing, another excuse to build something. I didn’t have a separate kettle for warming water, though, and you don’t need one either.
An All-in-One Brewing System
Systems such as the Grainfather G30 combine much of the mash, heating, and boil process into one main unit. That’s what I use now.
I enjoy the convenience and the extra control, but my Grainfather still needs malt, water, hops, and yeast. I still mash. I still boil. I still chill the wort.
And the yeast still doesn’t care how expensive the brewing system was.
I’ve used all three approaches over time. If you’re curious why I moved from BIAB to a homemade mash tun and eventually to the Grainfather G30, I’ve written up how my homebrew setup changed over my first decade of brewing.
What I Would Focus on for the First Batch
Once you start brewing, there’s always another variable you can tweak. You can adjust your water, change your mash, control temperatures more precisely, change grain crush, buy pumps, compare fittings, and acquire another thermometer because apparently the four you already own aren’t enough.
All of that can come later.
For your first batch, I’d keep the priorities much simpler. Keep your equipment clean, sanitize the things that touch cooled wort and beer, follow a proven recipe, and give the yeast a sensible and reasonably stable temperature.
Take an original gravity reading and check gravity again when fermentation appears to be finished. Write down your temperatures and volumes too.
If you started with 28 liters and only 17 liters reached the fermenter when you expected 20, write that down. You don’t need to solve it while standing beside the kettle. The note tells you what to investigate before your next brew.
Learning how to brew beer at home is mostly about understanding the process, then learning what your own equipment does from one batch to the next.
Your first batch is partly about making beer. It’s also about learning how your brewery behaves.
I’ve been brewing since 2015, and I’m still learning.
Maybe your mash temperature ends up a little off. Maybe you make two liters less beer than expected. Maybe the carbonation is slightly lower than you wanted. Maybe the beer turns out surprisingly good and your biggest problem is that you only made 20 liters.
All of those outcomes teach you something. Fix one thing on the next batch, then another.
You can go as far down the brewing rabbit hole as you want, but the basic idea remains wonderfully simple:
Make wort. Add yeast. Give it time. Make sure fermentation is finished. Package the beer.
Then pour a glass of something you made yourself.
References
- John J. Palmer — How to Brew — accessed October 5, 2026.
- American Homebrewers Association — How to Make Beer — accessed October 5, 2026.
- American Homebrewers Association — Homebrew Equipment — accessed October 5, 2026.
- American Homebrewers Association — All-Grain Brew in a Bag Homebrewing — accessed October 5, 2026.
- American Homebrewers Association — How to Take an Accurate Hydrometer Reading — accessed October 5, 2026.
- American Homebrewers Association — Mastering the Art of Bottle Conditioning — accessed October 5, 2026.
- BeerSmith — 5 Home Brewing Tips to Avoid the Dreaded Bottle Bomb — accessed October 5, 2026.
- Brewers Association — Preventing Package Over-Pressurization — accessed October 5, 2026.
- Brewers Association — CO2 Hazards — accessed October 5, 2026.