How My Homebrew Setup Changed Over My First Decade of Brewing
I started with a kettle and mash bag. A decade later, my homebrew setup had changed completely—and so had my brew days.
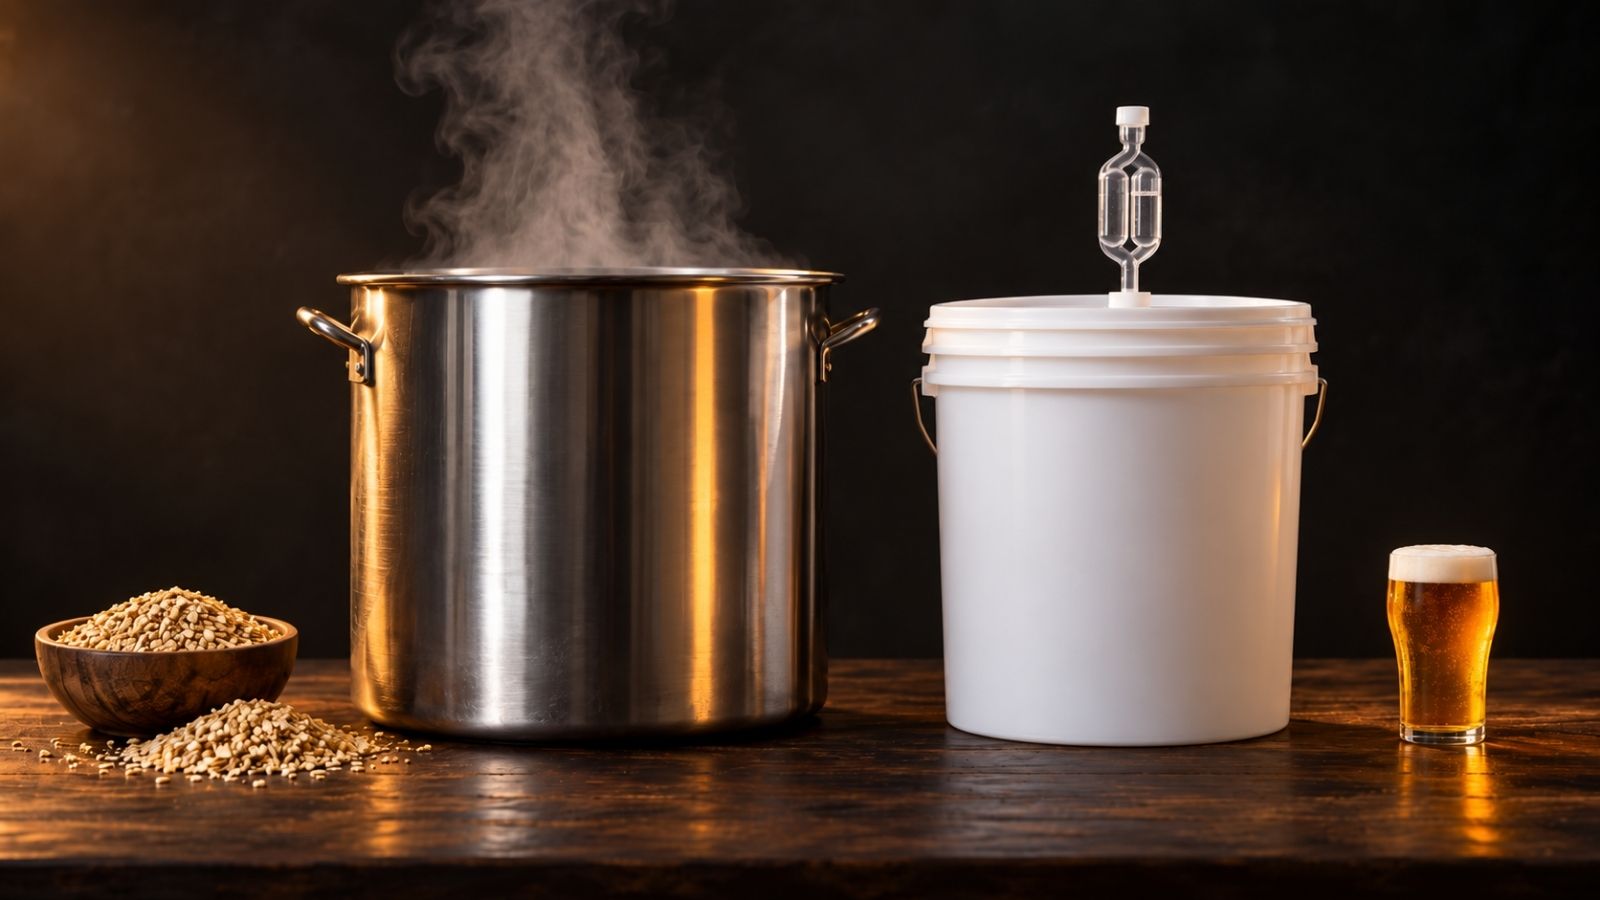
My homebrew setup started with a 35-liter kettle, a mash bag, and more patience than skill. By the end of my first decade, it had grown into an all-in-one brewing system, temperature-controlled fermentation, and Cornelius kegs.
A lot of the equipment changed along the way. The basic brewing process really didn’t.
This isn’t a list of gear I think you need. It’s the story of the problems I wanted to solve, the equipment I wanted to try, and how my setup changed as I learned what actually mattered to me. If you are trying to work out what you actually need to get started, I have a separate guide to homebrewing equipment for fresh wort kits, extract and all-grain brewing.
What got me into homebrewing
I started homebrewing in 2015, and two things pushed me into it.
The first was my brother. He’d brewed a batch of beer in his own kitchen — nothing large, just enough to share — and it was genuinely good. Good enough that I was a little surprised at what he’d managed to pull off with grain, water, hops, and yeast.
The second happened around the same time, on a work trip to Larvik, a town on the Norwegian coast. Right next to where we were staying was Larvik Mikrobryggeri, a local microbrewery, and our group got a tour of the brewhouse.
Looking into the brewhouse through the window from the bar was interesting enough on its own. Having a brewer walk us through the actual process inside the brewhouse was what really did it.
I came home, looked into whether I was even allowed to brew beer at home in Norway — I was — decided it looked like a lot of fun, and picked up a starter kit.
That was the beginning of my first homebrew setup.
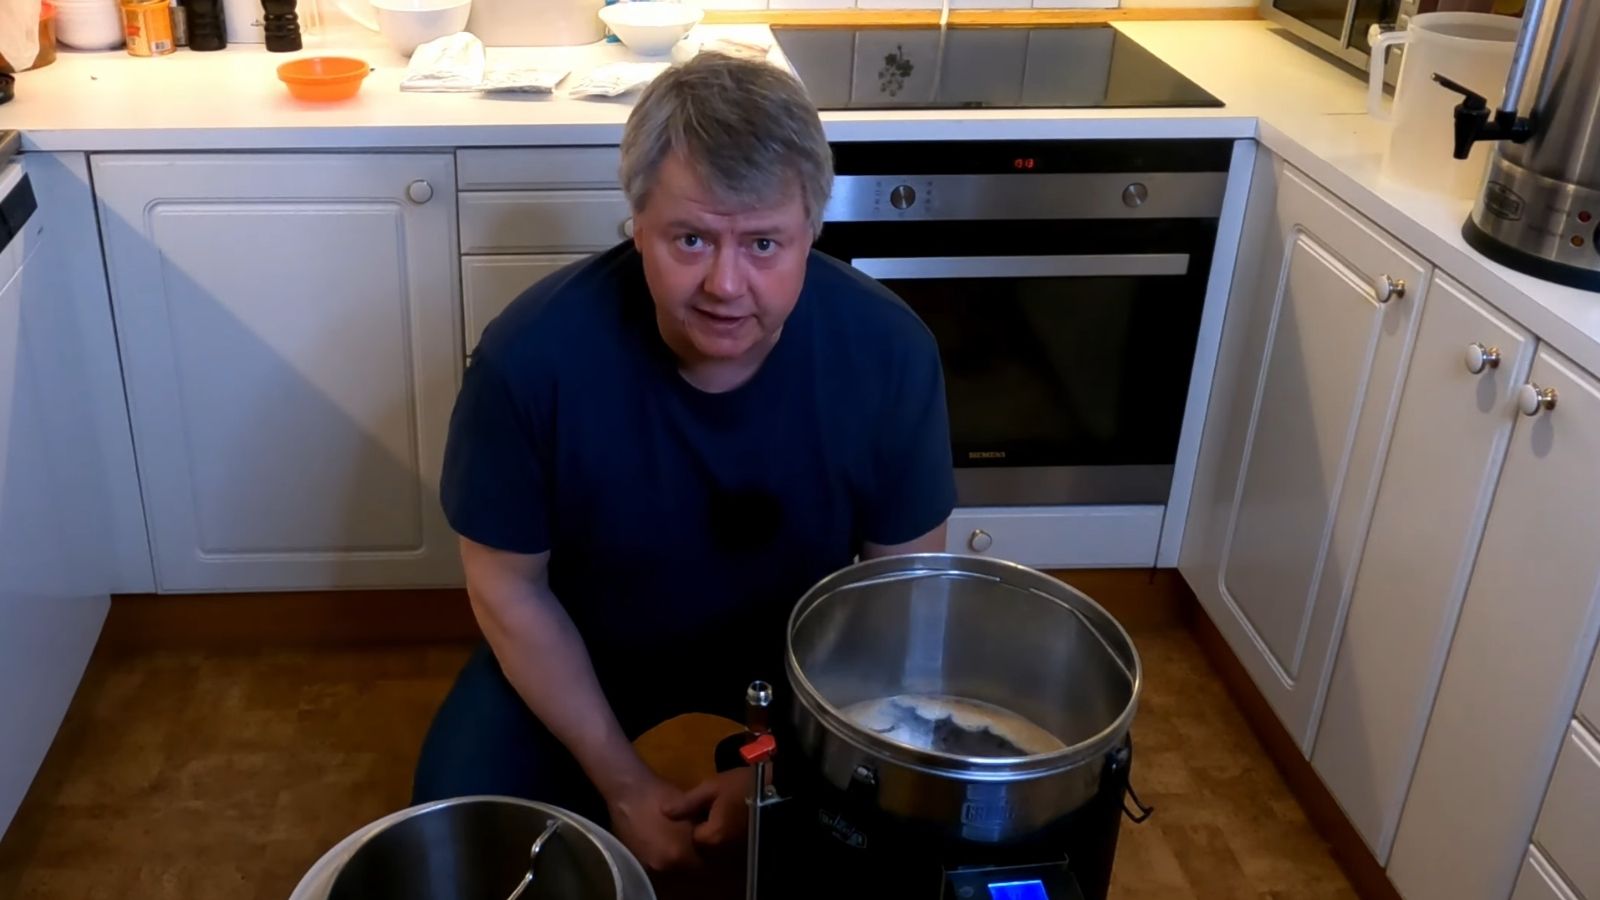
Prefer to watch the story instead? The video follows the same decade of homebrewing, from my first kettle and mash bag to the setup I use today. It’s in Norwegian, with English subtitles available.
My first homebrew setup — and a very long first brew day
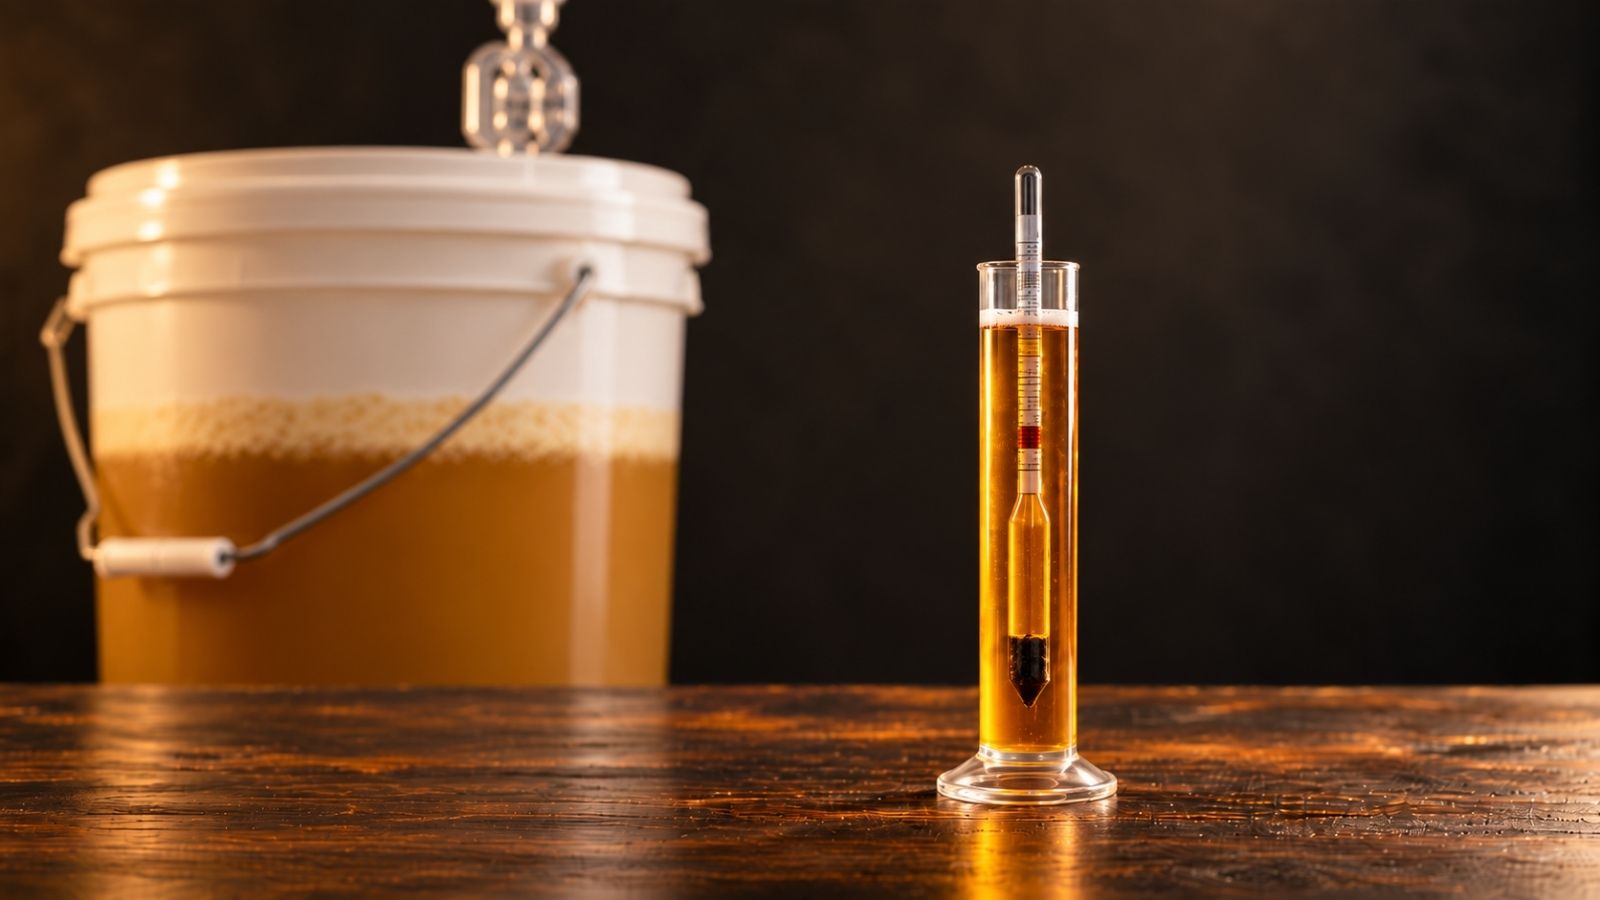
The starter kit was simple: a 35-liter kettle, a mash bag, a fermenter, an immersion chiller, a hydrometer, and a handful of other basics.
Nothing fancy. And, as it turned out, nothing fancy was required to make good beer.
The first brew day itself was rough.
My stove at the time had old-fashioned steel hotplates rather than induction, and it was slow. Very slow.
I seem to remember it taking two to three hours just to get the wort from mash temperature up to a boil. By the time I was finally finished, it was well into the night.
The beer was a pale ale, and it turned out better than I expected. Genuinely good.
That mattered, because it proved something early on that I still think is worth remembering: the simple equipment worked. I didn’t need a more expensive brewing system to make beer I was happy to drink.
What I eventually got tired of wasn’t the result. It was the process.
Mashing in a bag wasn’t for me
I brewed another batch or two with a mash bag before deciding it wasn’t the right method for me.
To be clear, I know plenty of homebrewers get on very well with brew-in-a-bag, or BIAB. You mash the grain in a large fabric bag, usually in the same kettle that later becomes the boil kettle. It can make for a very compact brewing setup.
It just didn’t suit how I wanted to brew.
So I went looking for an alternative and landed on a large Igloo cooler, the kind normally meant for drinks, converted into a mash tun.
The plastic spigot that came with the cooler wasn’t what I wanted, so I replaced it with a proper ball valve. The valve worked fine, but I was still getting grain husks into the boil kettle.
That sent me back to Google.
The solution was a manifold I built myself from copper pipe. I cut the pipe to fit inside the cooler, used a Dremel to cut slots into the bottom sections, soldered it together, and made sure I could take part of it apart again for cleaning.
The idea was simple: collect wort from underneath the grain bed without bringing the grain along with it.
And it worked. From then on, I was getting wort through the valve rather than a mixture of wort and grain.
I still like this part of homebrewing. Sometimes the satisfying bit isn’t buying the solution. It’s figuring one out.
Solving the heat problem
The other problem from that first brew day hadn’t disappeared.
My stove was simply too weak. I didn’t want to spend hours waiting for wort to reach a boil, and I wasn’t even getting the rolling boil I wanted. So I bought a 3500-watt induction plate.
That made an obvious difference to how the brew day flowed. There was a lot less standing around waiting for water or wort to heat.
I’d be careful about overstating what this did for the beer itself, though. This was a workflow improvement, not a recipe fix.
Sparge water — the hot water used to rinse the grain bed after mashing — created its own little problem because I was using the same kettle for several jobs.
I needed the kettle for the boil, but I also needed hot sparge water ready before I got there.
A cooler from Biltema ended up becoming part of the solution. I heated the sparge water beforehand and used the cooler to keep it warm until I needed it.
I also didn’t have a proper setup for distributing that water gradually over the grain bed. In practice, it became something closer to a batch sparge, with much of the sparge water going in at once.
It worked. Elegant is probably not the word I’d use.
And handling several liters of hot water around a kitchen is one of those jobs where a bit of planning is preferable to finding out halfway through that you need another hand.
Fermentation temperature control should probably have come earlier
A few years in, I ended up with a spare refrigerator that could become a fermentation chamber.
I added an Inkbird temperature controller and suddenly had something I probably should have prioritized earlier: much better control over fermentation temperature.
My basement was stable enough that brewing ales had worked reasonably well for me before this. It wasn’t as if every beer before the fermentation fridge had been ruined.
But controlling the temperature gave the yeast a more stable environment instead of allowing the beer to follow whatever the room happened to be doing. Fermentation temperature can influence yeast activity and the flavor compounds produced during fermentation, which is one reason different yeast strains and beer styles are commonly fermented within different temperature ranges.
For me, the practical benefit was control and repeatability.
It also gave me the control I wanted to try fermenting a lager at cooler temperatures. So I brewed one.
The process went fine. The beer itself left me a little underwhelmed — not because anything had gone wrong, but because lager just isn’t the kind of beer I get particularly excited about. I’d already brewed wheat beers, pale ales, IPAs, and darker styles, and the lager felt a little bland for my taste.
That’s a taste thing, not a verdict on lager.
It still got finished, so it clearly wasn’t undrinkable.
Seventeen batches, seven years, and a growing list of annoyances
By my count, I brewed 17 batches between 2015 and 2022 — my first seven years.
That’s not a huge number, and there’s a reason for it.
Brewing had accumulated a lot of small friction points that made starting another batch feel like more work than I wanted it to.
Some of it was physical. I was lifting and moving hot liquids, including moving a full kettle across the kitchen so I could connect the immersion chiller at the sink.
Some of it happened at transfer. I didn’t have much in the way of filtering in the kettle, so hop material and protein trub followed the wort toward the fermenter. I tried running it through a strainer, but the strainer kept clogging.
And then there was bottling.
Every batch. All of it. Into bottles.
A brew day already took me seven or eight hours, and packaging the beer later could mean another couple of hours washing bottles, sanitizing them, filling them, capping them, and putting them away to carbonate.
Cleaning and sanitizing are two different jobs, something I go into properly in Clean and Sanitized Are Not the Same Thing. When you’re doing both jobs over and over again across an entire batch of bottles, the time adds up.
None of this made me want to quit. But it did raise the bar for actually starting the next brew day, and that’s a real cost in a hobby that depends on you showing up for it.
Moving my homebrew setup to an all-in-one system
Eventually I started actively looking for something simpler.
I searched Finn.no, a Norwegian site for classified ads, for used brewing systems and spent plenty of time on Google and YouTube trying to work out what was worth buying without going straight to the expensive end of the market.
I like gadgets. I’m not going to pretend otherwise.
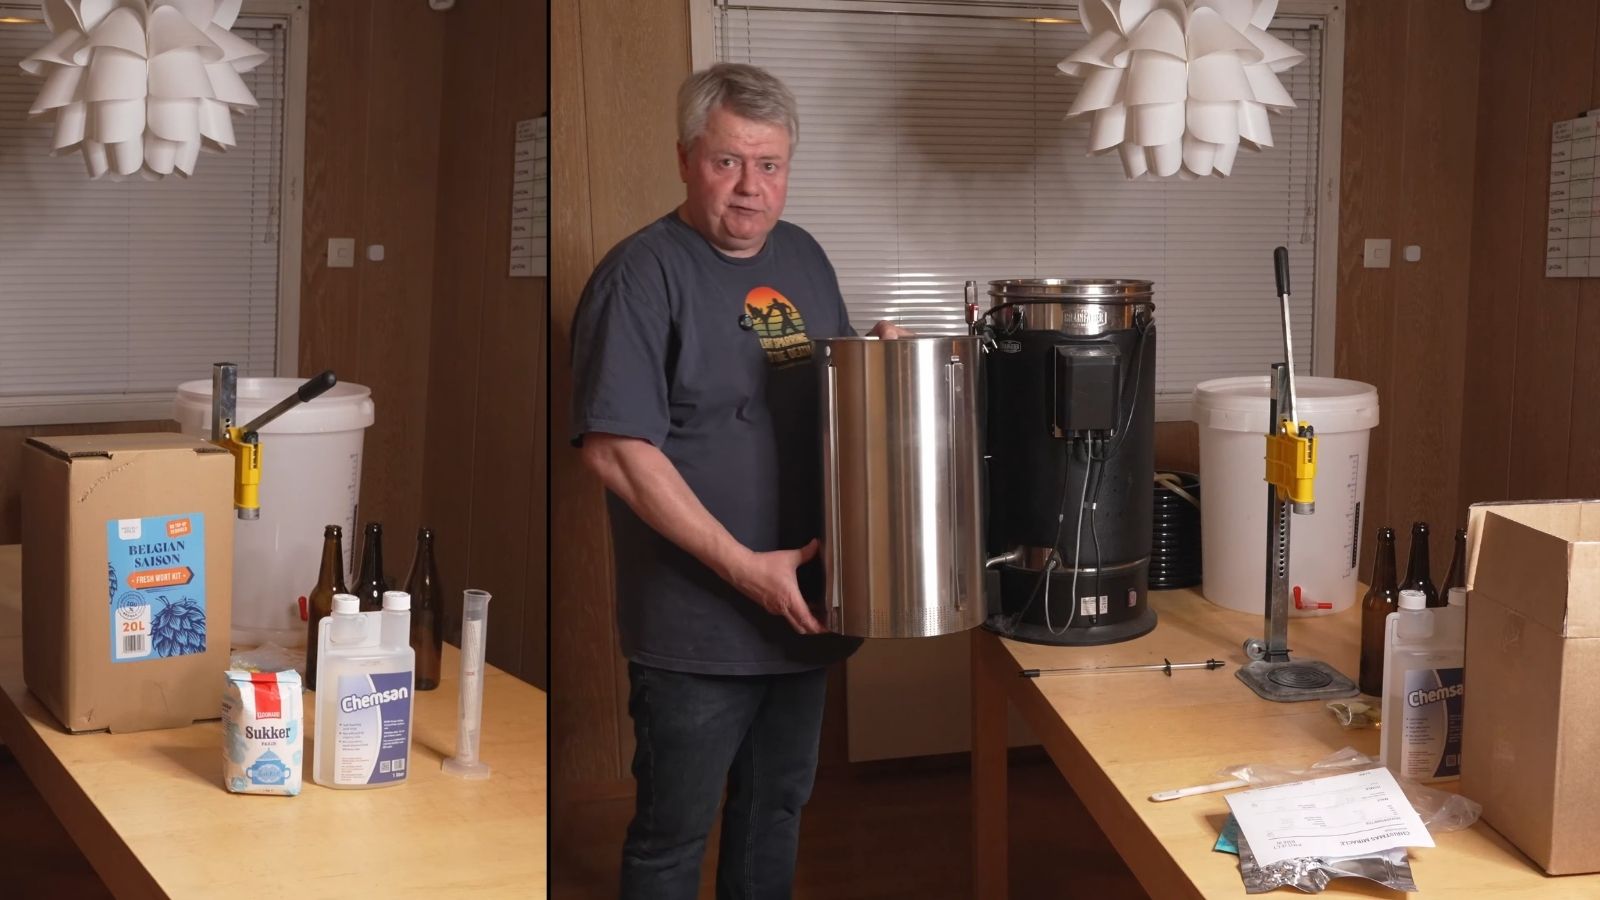
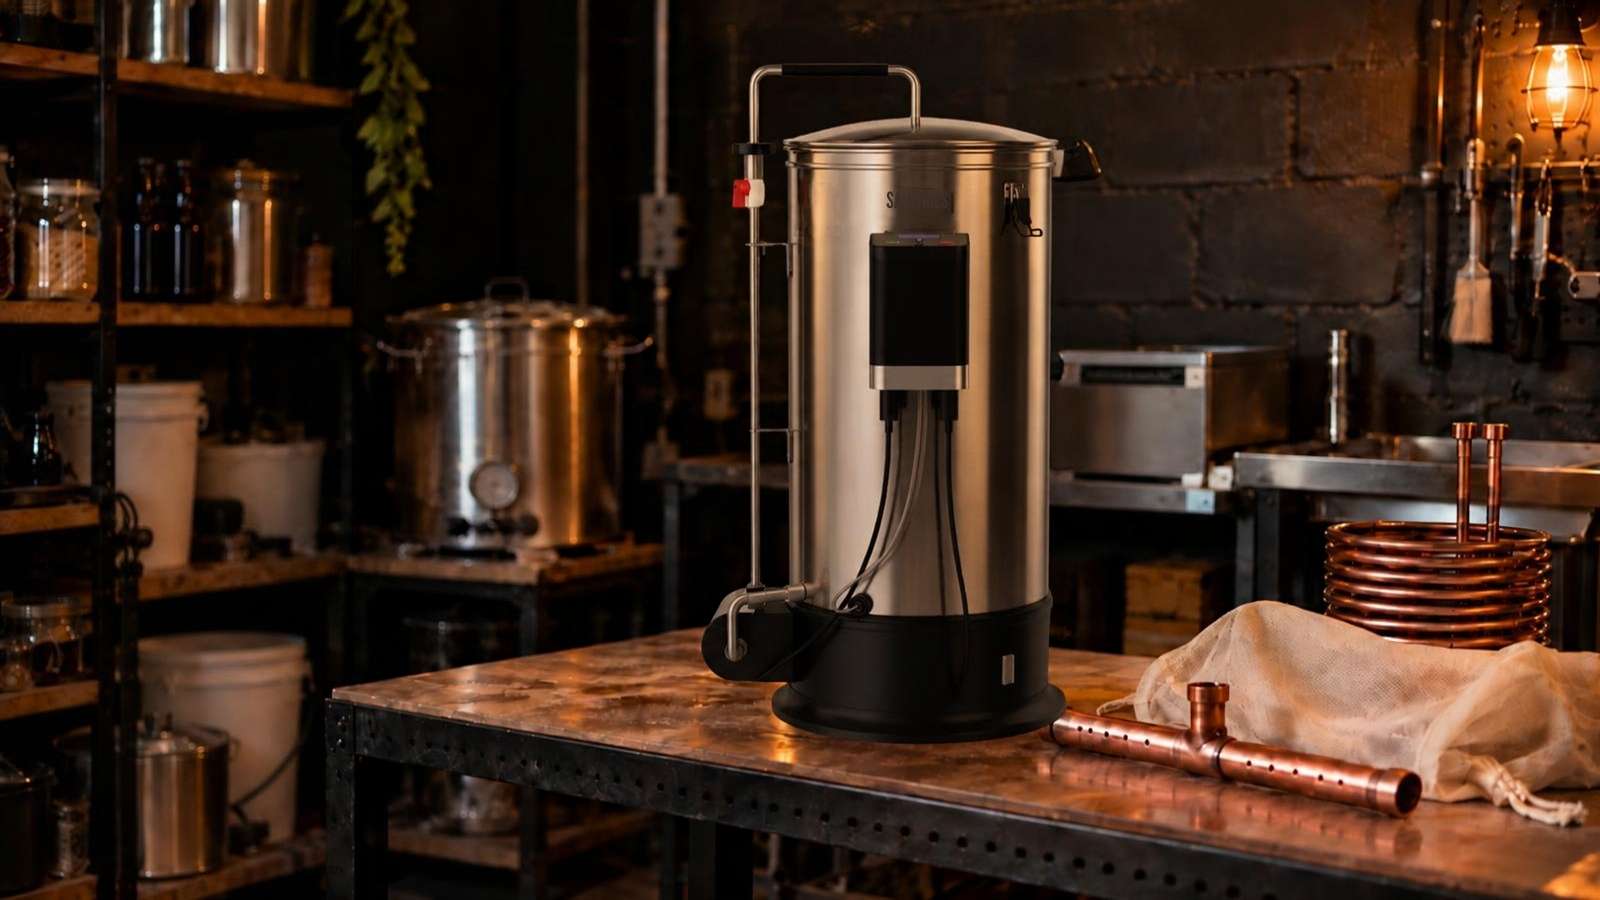
But in 2022 I landed on a used Grainfather G30 and picked it up from someone across town.
It was a much more integrated brewing system than the collection of separate pieces I’d been using.
Mash, wort circulation, and boil were now centered around one system, and the counterflow chiller meant I no longer needed to carry a full kettle over to the sink just to cool the wort.
The Grainfather didn’t suddenly make my beer good. The old equipment had already done that.
What it changed was the workflow.
The brewing process became easier for me to manage and easier to repeat. There were fewer improvised steps and less equipment to move around.
That had a real effect on how often I brewed. Over the following couple of years, I brewed roughly as many batches as I had during my entire first seven years combined.
Less friction made it much easier to say yes to a brew day.
If you’re interested in what the brewery looks like now rather than the history of how I got there, I keep the current setup updated on My Homebrewing Gear.
Fine-tuning the Grainfather G30
The Grainfather wasn’t perfect out of the box, at least not the way it came to me.
The original grain plates used silicone rings, and I found those rings irritating enough that I eventually replaced the plates with rolled versions that don’t need them.
I still use those. Or rather, the bottom rolled plate. Read on to see why I don’t use the top plate anymore.
I also added an extra bottom plate below the malt pipe, on top of Grainfather’s own filter, giving me another layer of filtration before hop material reaches the filter. That noticeably reduced the amount of debris I was getting into the fermenter, and it’s still part of the setup today.
Later I upgraded to version 3 of the malt pipe — the perforated basket that holds the grain during the mash.
That removed two more small annoyances.
The newer malt pipe doesn’t use a top plate, and I no longer need the center tube either. Stirring the grain in is easier, and I don’t have to worry about the old two-piece center tube coming apart during the mash.
With the current malt-pipe setup, I typically see around 80% mash efficiency in Brewfather, calculated from my actual brew-day results.
That’s not a one-off number from a particularly lucky batch. It’s fairly consistent for my setup.
And that’s the kind of improvement I care about. Not because 80% is some magic number everyone should chase, but because a process that behaves consistently makes it easier to plan the next batch.
The current G30 setup is also the system I use in my Hoppy Amber brew day if you want to see it doing its actual job rather than sitting still for a gear photo.
Kegging instead of bottling
There was another important part of that used Grainfather deal.
It came with three Cornelius kegs and a CO₂ cylinder.
That meant moving away from bottles didn’t have to become another future equipment project. I already had what I needed to start kegging.
For me, this removed one of the biggest repetitive jobs in the entire process.
Keg day is much faster than my old bottling days were. I don’t need to wash, sanitize, fill, and cap a pile of individual bottles every time I package a batch.
I fill one keg.
I also force carbonate rather than relying on priming sugar and bottle conditioning. I normally use a higher pressure for a short period to speed up carbonation because, apparently, patience still isn’t one of my strongest brewing skills.
That generally gets me carbonated beer in well under a week rather than the roughly two weeks I used to allow for bottle conditioning.
I’m deliberately not giving a pressure-and-time recipe here.
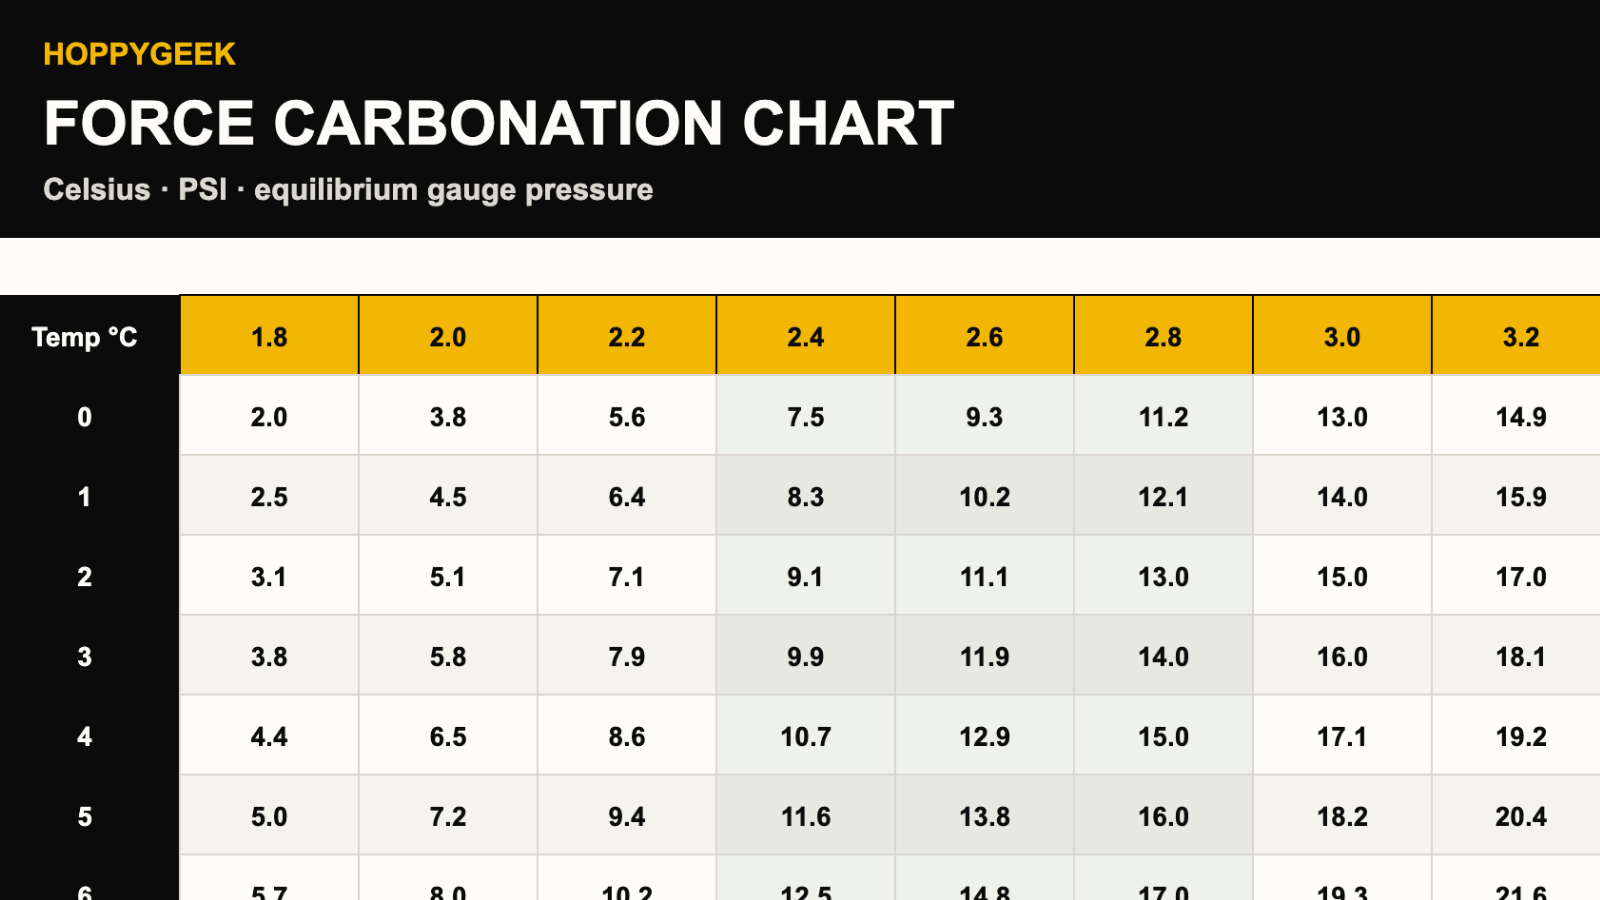
Carbonation depends on beer temperature, the carbonation level you’re aiming for, and the system you’re using. A proper force carbonation chart is considerably more useful than copying one pressure setting from somebody else’s keg fridge.
CO₂ cylinders and kegs are also pressurized equipment. Know how your regulator, connections, and pressure-relief valve work, don’t exceed the rated pressure of your equipment, and use CO₂ in a properly ventilated area.
Where my first decade of brewing left me
By the end of that first decade, I was brewing much more regularly than I had during the first seven years.
And somewhere along the way, one hobby had turned into two: brewing beer and making videos about brewing beer.
I still don’t think good beer needs to be perfect. Mine certainly isn’t. But I often enjoy it more than what I can buy at the store, and homebrewing lets me make styles I don’t often find on my local shelves.
What’s interesting now is that I’m less focused on adding another piece of equipment and more interested in understanding what happens inside the process.
I haven’t built my own recipes yet. Everything I’ve brewed so far has been based on ingredient kits, and I haven’t really branched out into brewing other people’s standalone recipes either.
That’s something I want to change.
Water adjustment is another area I want to understand better. I already have the water report from my local utility. The next step is understanding that water properly, learning how to use the information in Brewfather, and deciding what — if anything — I actually want to adjust for a particular beer.
After spending years changing the equipment around the process, I’m increasingly interested in changing things inside the process deliberately and seeing what happens.
That feels like the next useful direction.
What actually changed my homebrew setup
Looking back over those first ten years, the brewing equipment changed much more than the brewing process itself.
I started with BIAB, moved to a homemade mash tun, and eventually ended up with an all-in-one system. I went from ambient fermentation to temperature control and from bottles to kegs.
But I was still doing the same fundamental jobs: making wort from grain, boiling it with hops, chilling it, fermenting it, and packaging the beer. If you want the broader version of that process, I go through it step by step in How to Brew Beer at Home: The Whole Process Explained.
What changed was how I wanted to do those jobs.
I’m enough of a gadget person that newer and fancier equipment has a pull of its own. Sometimes I want a piece of gear simply because I think it’s interesting.
There’s nothing particularly noble about that. It’s a hobby.
But almost every meaningful change to my setup can also be traced back to something specific I wanted to solve: a stove that was painfully slow, grain making its way into the boil kettle, fermentation temperature I wanted more control over, a brew day with too much lifting and moving, or a bottling process eating half my evening.
I didn’t need an all-in-one brewing system to make good beer. I already knew that because the first pale ale from the simple kettle-and-bag setup had turned out really well.
What the later equipment gave me was a process I enjoyed using more.
And that mattered, because a brewing system is only useful when I actually feel like brewing on it.
You don’t need to start with the brewery you might end up with ten years from now. Start with enough equipment to make beer. Learn how your own process behaves. Pay attention to what actually annoys you, limits you, or makes you curious.
Then change something when there’s a reason to.
The setup can grow with you.
References
- Helsedirektoratet — “§ 6-1. Tilvirkning av alkoholholdig drikk” — https://www.helsedirektoratet.no/rundskriv/alkoholloven/kapittel-6-tilvirkning/-6-1.tilvirkning-av-alkoholholdig-drikk — Accessed 2026-09-18
- John Palmer — How to Brew, Chapter 8: “Fermentation” — https://howtobrew.com/section-1/chapter-8/ — Accessed 2026-09-18
- American Homebrewers Association — “Understanding Fermentation Temperature Control” — https://www.homebrewersassociation.org/how-to-brew/understanding-fermentation-temperature-control/ — Accessed 2026-09-18
- American Homebrewers Association — “An Introduction to Kegging Homebrew” — https://www.homebrewersassociation.org/how-to-brew/an-introduction-to-kegging-homebrew/ — Accessed 2026-09-18