Homebrewing Equipment: What You Actually Need
What homebrewing equipment do you actually need? The answer depends on whether you choose fresh wort, extract or all-grain.
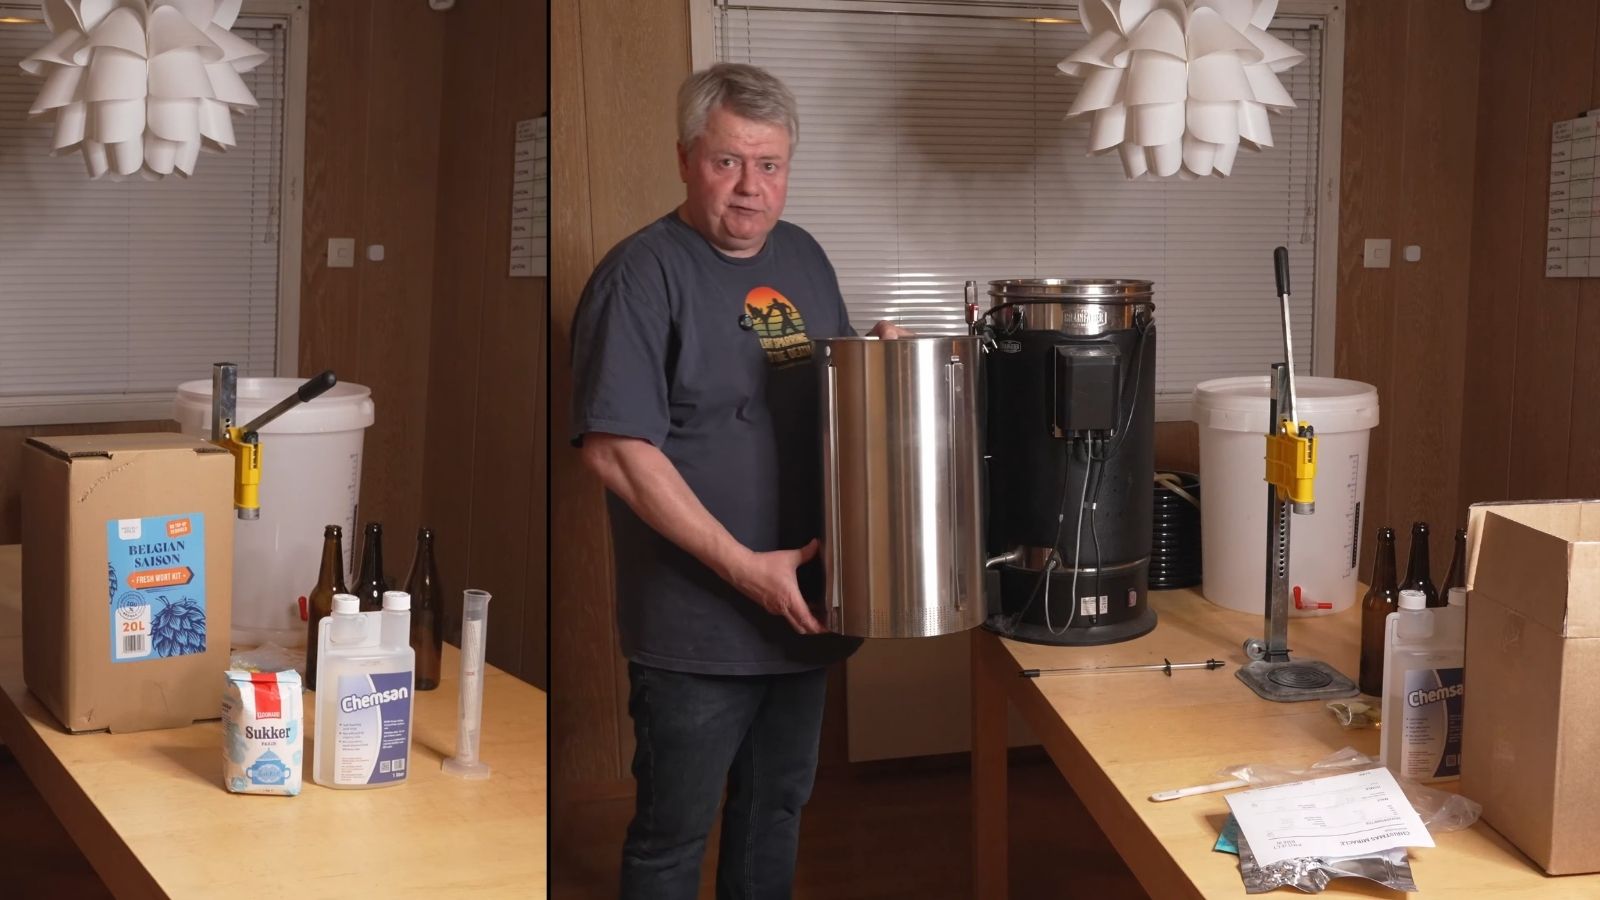
You can spend a surprising amount of money on homebrewing equipment before you have brewed a single beer, but you do not need to. What you actually need depends mostly on how much of the brewing process you want to do yourself.
With a fresh wort kit, most of the brewing has already been done for you. Extract brewing adds some work on the hot side. With all-grain, you make the wort from malt yourself, so naturally the equipment list gets longer.
I started brewing in 2015 and have gradually moved through simple setups, BIAB (brew in a bag), a homemade mash tun and eventually a Grainfather G30. Some of those upgrades made brewing easier, but none of them changed the basic fact that you can make good beer with much simpler equipment.
So rather than building one enormous shopping list, let’s look at what you actually need for each method.
Homebrewing Equipment Starts With the Brewing Method
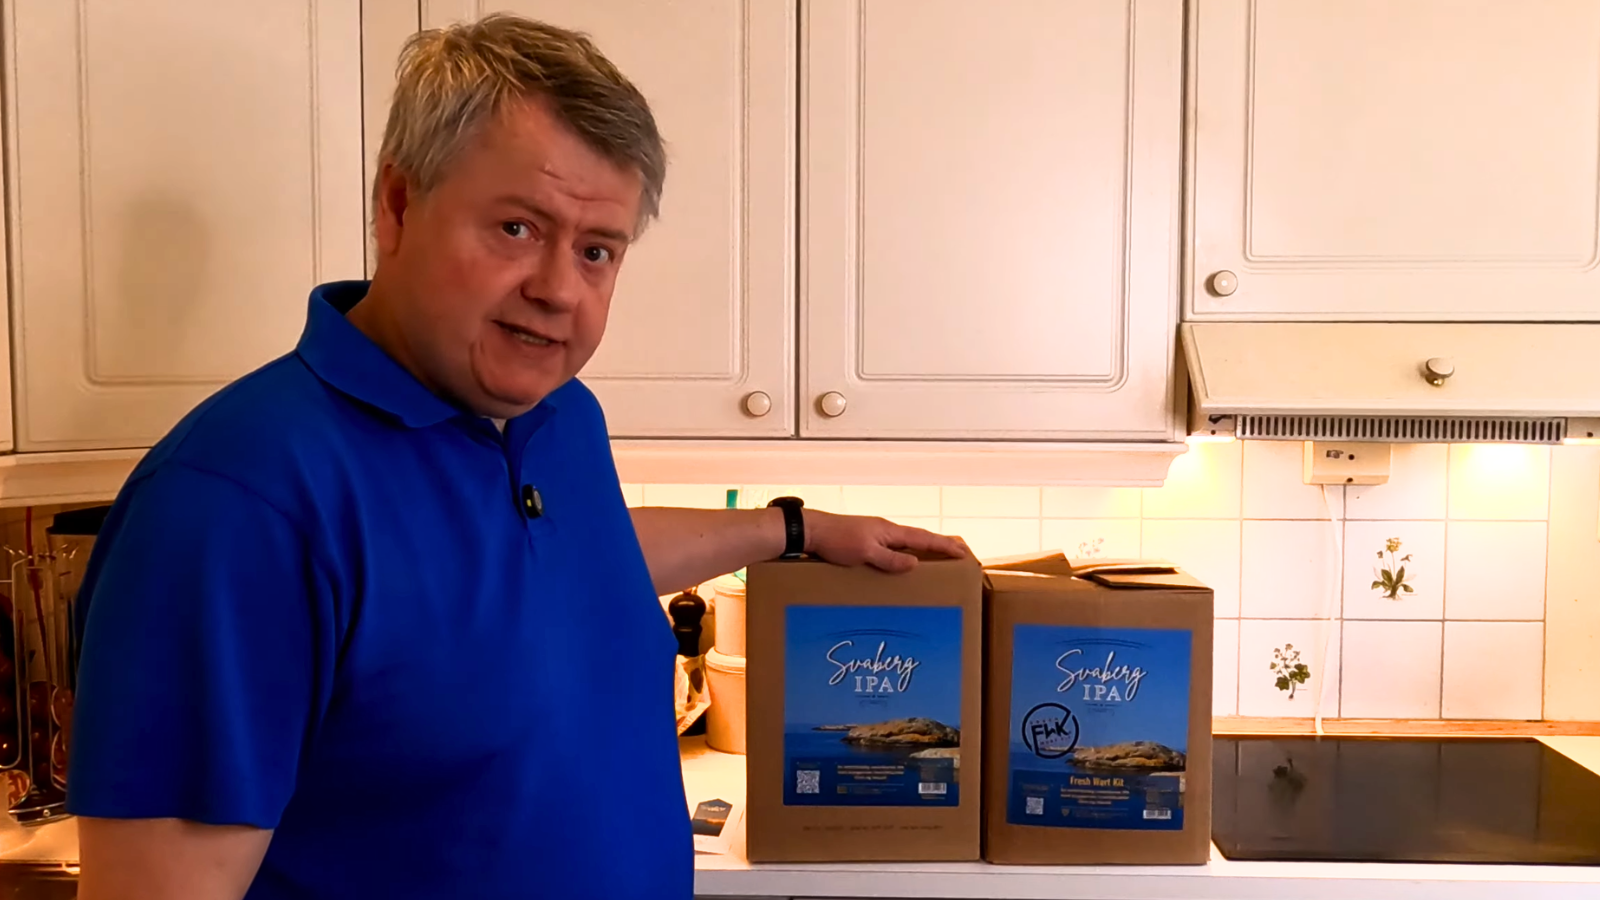
A fresh wort kit, or FWK, contains wort that has already been mashed and boiled by the producer. Wort is simply the sugary liquid that eventually becomes beer, so your job starts around the point where the wort goes into the fermenter.
With extract brewing, malt extract replaces most or all of the mashing process. Some kits are very simple and only require you to dissolve concentrated wort in hot water and top up the fermenter. Other extract recipes involve a proper boil and hop additions, so the equipment can vary quite a bit.
With all-grain brewing, you start with malted grain and make the wort yourself. That means mashing the grain, separating the wort, boiling it, adding hops and cooling it before fermentation.
The amount of homebrewing equipment you need therefore depends mainly on where you start in that process. This is not really about which method is best; each method simply asks you to take responsibility for a different amount of the brewing yourself.
Prefer to watch the video about what homebrewing equipment you need? The video is in Norwegian, with subtitles in English available.
| Method | You need | Strongly recommended |
|---|---|---|
| Fresh wort kit | Fermenter with lid and airlock, cleaner and sanitizer, bottling equipment and priming sugar | Hydrometer, thermometer |
| Simple extract kit | Fermenter and packaging equipment, cleaner and sanitizer, suitable pot and stirring tool | Hydrometer, thermometer |
| Extract with a boil | Fermenter and packaging equipment, cleaner and sanitizer, suitable boil kettle, heat source, stirring tool and a way to cool the wort | Hydrometer, thermometer |
| All-grain | Fermenter and packaging equipment, cleaner and sanitizer, BIAB bag or mash tun, kettle of about 35 liters or more for a typical 20-liter batch, suitable heat source, stirring tool, thermometer and wort cooling | Hydrometer |
This is a starting point, not a shopping list, and it should keep the hobby from whispering that you need another stainless-steel gadget. For 25-liter batches, stronger beers or full-volume/no-sparge BIAB, I would want more kettle capacity than the table suggests.
Equipment for Fresh Wort Kit Brewing
A fresh wort kit is probably the simplest way to make beer while still doing the fermentation and packaging yourself. The producer has already mashed the grain, boiled the wort and normally added the hops required during the boil, so most of your equipment is really fermentation and packaging equipment.
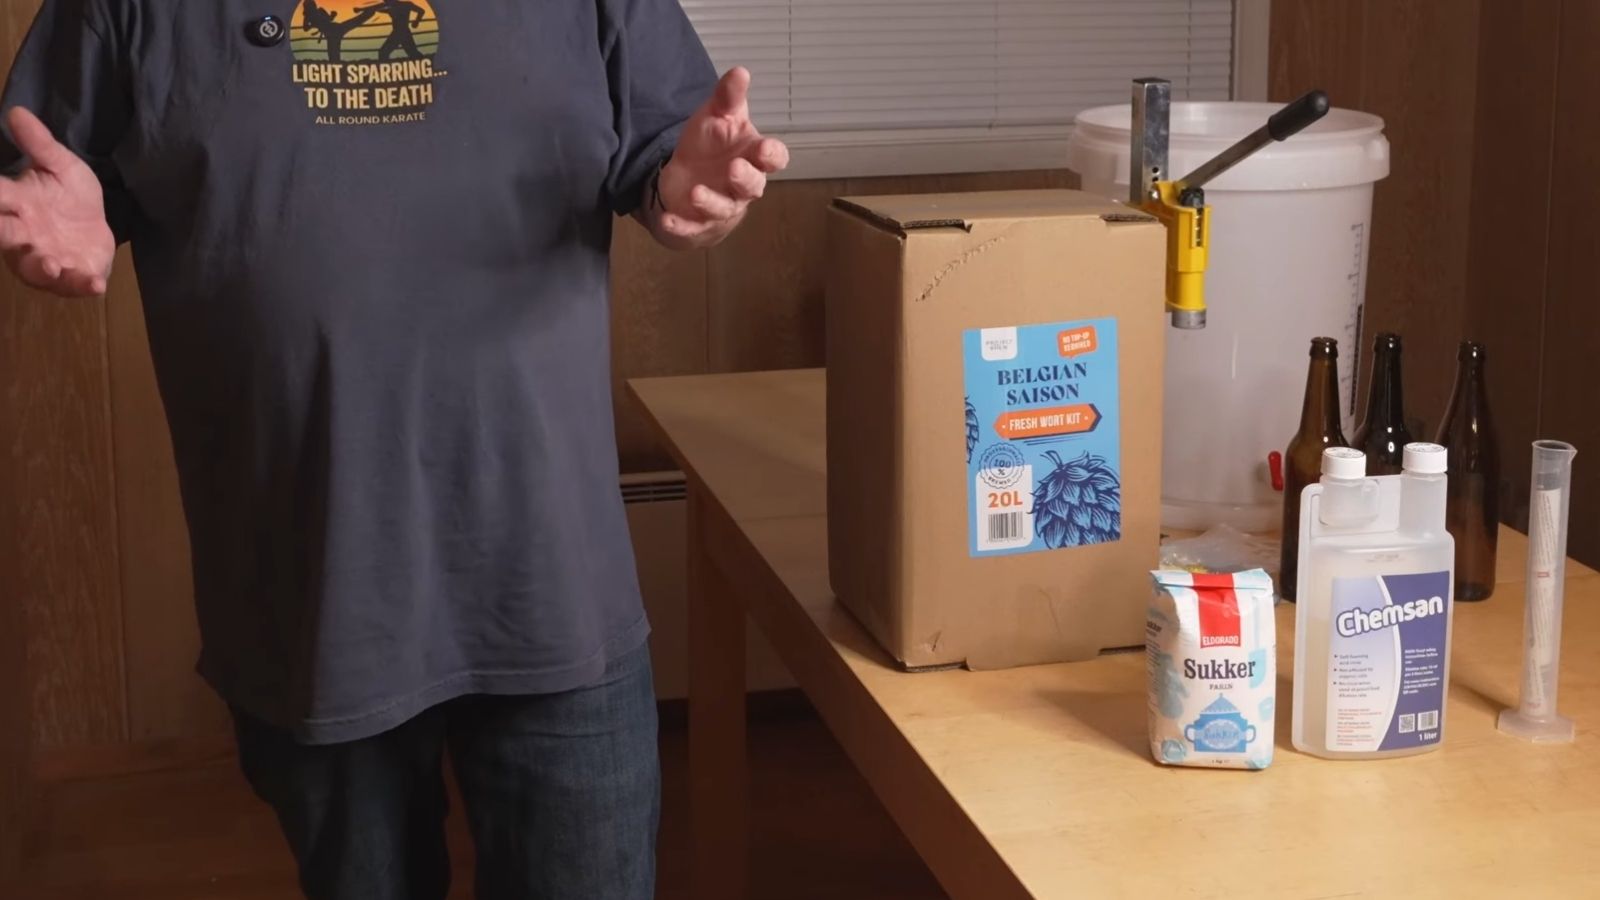
A fresh wort kit keeps the equipment list short: most of the brewing has already been done for you.A fermenter
You need somewhere clean and food-safe for the wort to ferment. A basic plastic fermentation bucket with a lid and airlock is perfectly adequate.
The airlock is the small water-filled device in the lid that lets gas escape while limiting what can get back into the fermenter. A tap near the bottom of the bucket is useful too because it makes taking samples and filling bottles easier.
Make sure there is enough extra space above the beer for foam during active fermentation. Yeast can be surprisingly enthusiastic.
You can certainly buy stainless conical fermenters and pressure-capable systems later, but none of that is necessary for your first batch.
Cleaning and sanitizing equipment
Cleaning and sanitizing are two different jobs. Cleaning removes dirt and organic material, while sanitizing reduces the microorganisms left on an already clean surface.
Anything that touches the wort after it has been boiled needs to be clean and sanitized. That includes the fermenter, lid, airlock, sampling equipment, bottle filler and bottles.
You do not need an elaborate cleaning station. A suitable cleaner and a brewing sanitizer such as Star San or ChemSan cover the basics. Follow the dilution and handling instructions for the product you are using.
If you want the longer version of why these are two separate jobs, I cover it in Clean and Sanitized Are Not the Same Thing.
A thermometer
For a fresh wort kit, I would call a thermometer strongly recommended rather than absolutely required.
Before pitching — the brewing term for adding yeast — it is useful to know that the wort is within a sensible temperature range for the yeast you are using. During fermentation, knowing roughly what temperature the beer is actually experiencing is also more useful than simply guessing from the room temperature.
It does not need to be expensive or connected to an app. A simple, reasonably accurate thermometer is enough.
A hydrometer and sample tube
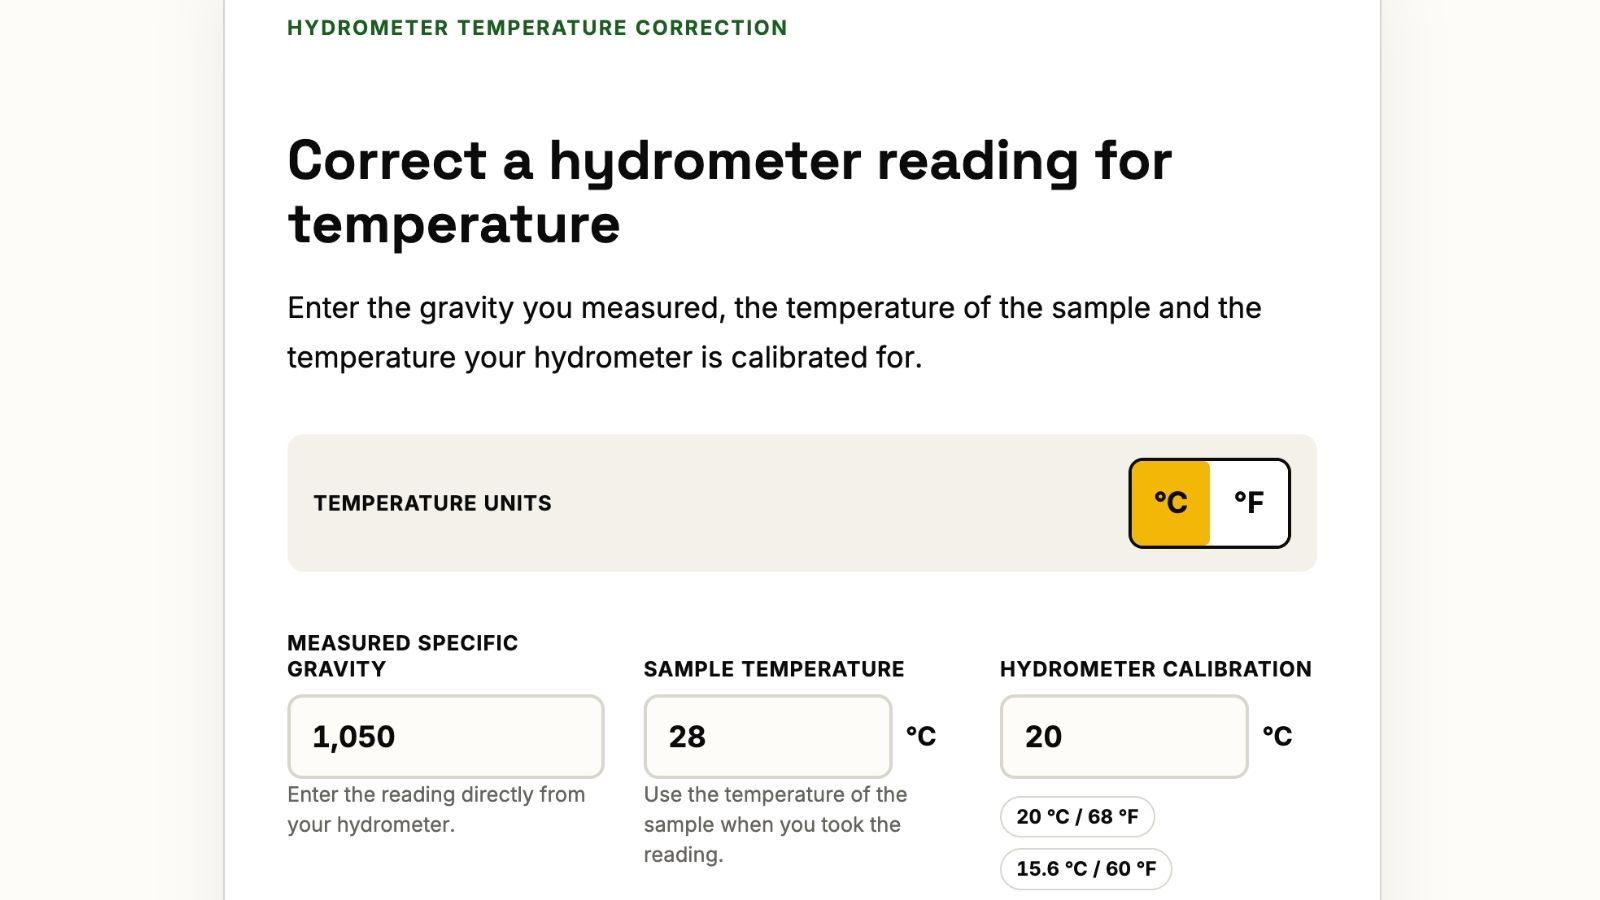
A hydrometer measures specific gravity, which tells you about the density of the wort and, indirectly, how much dissolved sugar is present. You float it in a tall, narrow sample tube filled with enough wort or beer for the hydrometer to move freely.
Take a reading before fermentation and you get your original gravity, or OG. Later readings show how far fermentation has progressed and can also be used to estimate the alcohol content.
More importantly, a hydrometer helps you judge whether fermentation is actually finished before you package the beer. If the gravity has stopped falling and the number makes sense for the beer you brewed, that is much stronger evidence than an airlock or the calendar alone.
That matters especially before bottling, because packaging beer that is still fermenting can create more pressure than you intended. I go deeper into that in How to Know When Fermentation Is Finished.
You can technically make beer without a hydrometer. I still consider it one of the best cheap tools to buy from the start.
Bottling equipment
Bottles are usually the cheapest way to package your first batches. You need bottles designed to handle carbonated drinks, new crown caps and a capper, plus a way to move the beer into the bottles.
A bottle filler attached to food-grade tubing is the usual simple solution. It can be fed from a tap on the fermenter or from a siphon if the fermenter does not have one.
A simple hand capper works perfectly well. A bench capper is more comfortable if you later decide you bottle often enough to justify one.
You also need a measured amount of priming sugar if you want the beer to carbonate naturally in the bottle. The remaining yeast ferments that small amount of sugar in the sealed bottle and produces CO₂.
For bulk priming, the sugar is dissolved and mixed evenly through the beer before bottling. A separate clean and sanitized bottling bucket makes that easy, but it is not the only way to do it.
Use a calculator rather than guessing the amount. My Priming Sugar Calculator works it out from the amount of beer, temperature and carbonation level you want.
Too much fermentable sugar in a sealed bottle can create more pressure than the bottle was designed to handle.
A bottle rinser and bottle tree are useful, but optional. They make bottling easier; they do not make the beer possible.
What you do not need
You do not need kegs, a CO₂ cylinder, regulator and beer taps just to get started.
I use Cornelius kegs and CO₂ for much of my own beer now because I like the convenience, but kegging turns one simple purchase into several. For a first batch, bottles are a much cheaper and simpler way in.
Equipment for Extract Brewing
Extract brewing uses most of the same fermentation and packaging equipment as a fresh wort kit, but here you start doing some of the hot-side work yourself.
The useful distinction is that “extract brewing” can describe two fairly different equipment setups.
Simple extract kits
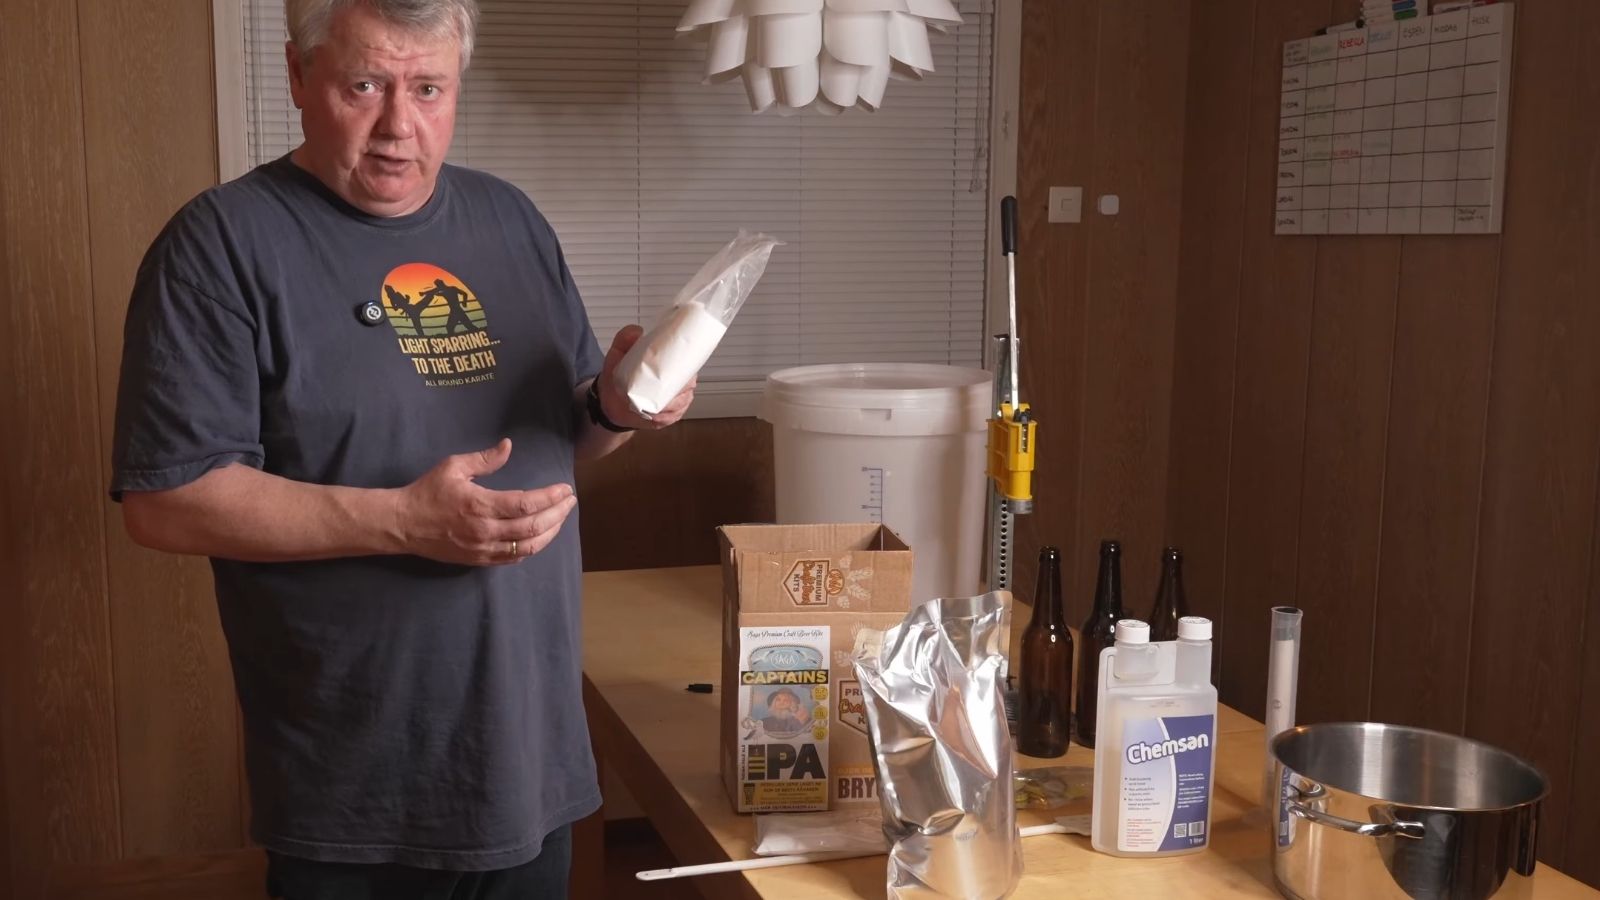
Extract brewing adds a little more work — and usually a pot — without turning the kitchen into a full brewery.Some extract kits are very straightforward. The extract kit I have used only needed the concentrated wort mixed into a few liters of boiling water before the fermenter was topped up to its final volume.
For that kind of kit, an ordinary kitchen pot may be enough. You also need something long enough to stir with, but if a spoon you already own can handle the job safely, there is no reason to buy a special brewing paddle.
I would add a thermometer so you know when the wort is within the appropriate range for pitching the yeast, although the brewing itself does not depend on precise temperature measurement in the same way an all-grain mash does.
If a pot you already own can handle the volume safely, you do not need a dedicated brewing kettle yet.
Extract brewing with a boil
Other extract recipes involve a proper boil, often with hop additions. Now the equipment starts looking a little more like an all-grain setup.
You need a kettle large enough for the volume you are boiling, a heat source capable of bringing it to a proper boil and something suitable to stir with. Once the boil is finished, you also need a practical way to get the wort down to a suitable yeast-pitching temperature.
A thermometer earns its place here too because it tells you when the wort has cooled enough to pitch the yeast.
For smaller partial-volume boils, the cooling solution can still be simple. As the volume increases, a wort chiller becomes much more practical.
Not every extract brewer needs a large kettle and chiller. Check what the kit or recipe actually asks you to do before buying them.
Once boiling water and wort enter the process, work somewhere stable and plan where the pot will sit before it is full. Even a relatively small volume of boiling liquid can cause a serious burn, and moving a hot pot is rarely the clever part of brew day.
Equipment for All-Grain Brewing
All-grain is where the equipment list becomes noticeably longer because you are taking responsibility for making the wort from the grain.
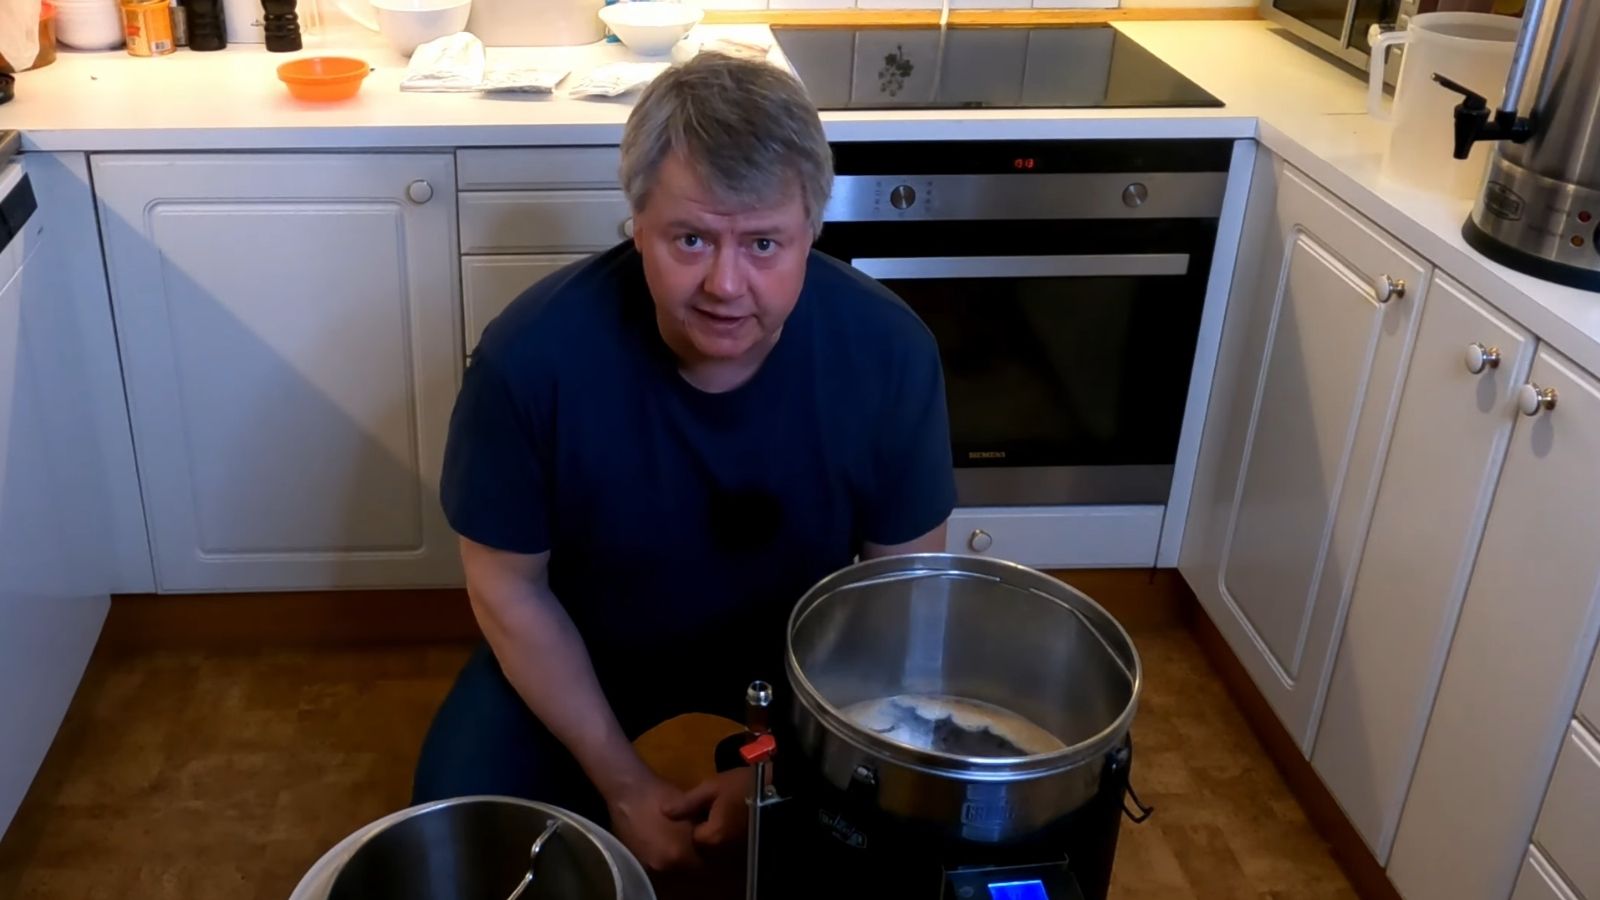
That still does not mean you need an expensive brewing machine. I started all-grain brewing with a 35-liter kettle and a mash bag.
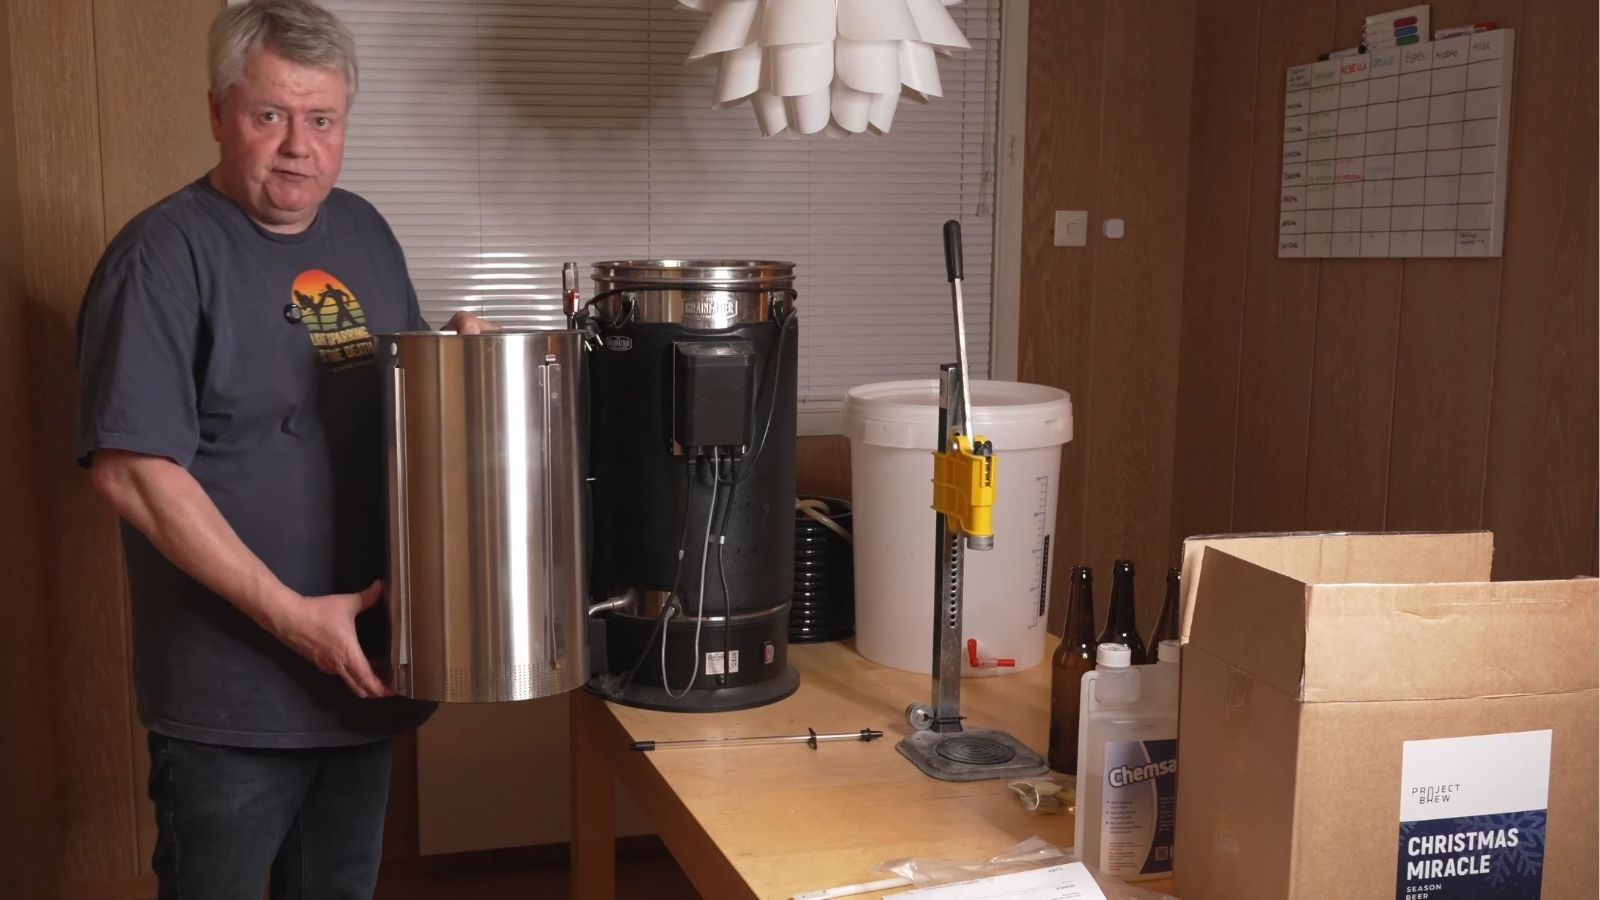
All-grain needs more equipment because you are making the wort yourself, but you still do not need every gadget on day one.Something to mash the grain in
Mashing means mixing crushed malt with hot water and holding it at a suitable temperature so enzymes in the malt can convert starch into fermentable sugars.
One of the simplest ways to do that is BIAB — brew in a bag. A large mesh bag sits inside the kettle and holds the grain during the mash. When the mash is finished, you lift out the bag and use the same kettle for the boil.
Another option is a separate mash tun, an insulated vessel used to hold the grain and water during the mash and then drain the wort away from the grain. I eventually built one from an Igloo cooler with a valve and a homemade copper manifold.
Those setups look very different, but they solve the same basic problem.
A thermometer
For all-grain brewing, a thermometer stops being merely convenient. You need to know the mash temperature because temperature affects the activity of the malt enzymes and therefore the wort you produce.
You will also use temperature measurements when heating water and when cooling the finished wort before fermentation.
You do not need a laboratory instrument. You need a thermometer that is reasonably accurate, works across brewing temperatures and is easy to use.
A kettle and enough heating power
For a typical 20-liter batch, I would not buy an all-grain kettle smaller than about 35 liters. You need room for more wort than the finished batch volume, plus enough headroom to boil without constantly threatening to climb out of the kettle.
My first kettle was 35 liters. It worked well, but on some 25-liter batches it could get uncomfortably full. If you expect to brew 25-liter batches regularly, stronger beers or full-volume/no-sparge BIAB, I would go larger.
AHA’s BIAB guidance gives roughly 38 liters — 10 US gallons — for a 19-liter no-sparge BIAB batch, which gives you an idea of how quickly that headroom gets used.
The kettle also needs enough heating power underneath it. My original kitchen stove could heat my first setup, but it took a very long time to reach a boil, so I eventually bought a stronger induction plate.
That upgrade did not suddenly make the beer better. It made the process much less annoying.
A full 35-liter kettle is also heavy, and the liquid inside it can be close to boiling. Decide where it is going to sit before you fill it rather than discovering halfway through that the kettle needs to move.
A way to cool the wort
Once the boil is finished, the wort has to cool to a suitable temperature before you pitch the yeast.
An immersion chiller is one common solution: a coil sits directly in the hot wort while cold water runs through the coil and carries heat away.
My Grainfather G30 uses a counterflow chiller instead, where wort and cooling water pass through separate channels. That is a useful integrated solution, but you certainly do not need one to start all-grain brewing.
What matters is having a cooling method that works safely for your batch size and gets the wort into the appropriate temperature range for the yeast.
Once the wort has cooled, anything that touches it needs to be clean and sanitized.
Sparging equipment — maybe
Sparging means rinsing additional sugars from the grain after the mash.
Some brewing systems use a separate vessel to heat sparge water. I use one because it makes my brew day easier, but you do not automatically need another vessel.
Full-volume BIAB can be done without a separate sparge step, and other simple processes can reuse existing pots or heat water in advance. Skip the extra equipment until your process gives you a reason to own it.
Then you are back to the same equipment again
Once the wort has been mashed, boiled and cooled, an all-grain brewer ends up in almost exactly the same place as the fresh wort kit brewer. The wort goes into a clean fermenter, you pitch yeast, monitor the fermentation, measure gravity and eventually package the beer.
That is a useful way to think about the extra all-grain equipment: most of it exists to make the wort. The fermentation and packaging side does not need to become more complicated just because the brew day did.
The Basics I Would Not Skip
Across all three methods, there are a few things I would prioritize before spending money on more advanced brewing gear.
Proper cleaning and sanitizing come first. Good ingredients cannot rescue dirty equipment after the boil.
Temperature measurement also matters, but how important it is depends on the method. For a fresh wort kit or any extract brew, I strongly recommend having a thermometer. For all-grain, I consider it basic process equipment because you need to know what is happening in the mash.
A hydrometer is not required for yeast to turn wort into beer, but I would still buy one early. It gives you information about fermentation that bubbles and dates simply cannot give you reliably.
Finally, use fermentation and packaging equipment that is actually suitable for the job. Brewing equipment does not need to be expensive, but hot wort, glass bottles and pressure deserve some respect.
What You Do Not Need on Day One
Homebrewing has a remarkable ability to produce equipment that suddenly feels essential.
One of the easiest mistakes is assuming that more homebrewing equipment automatically means better beer. Electronic hydrometers are interesting, pumps are useful, temperature-controlled fermentation chambers can improve repeatability, and an all-in-one system can make an all-grain brew day easier.
None of those is the entrance ticket to the hobby.
You do not need a dedicated brew room either. You need a suitable place to work safely with the amount of hot liquid your method involves and somewhere appropriate for the beer to ferment.
My favorite rule for brewing equipment is simple: buy something when it solves a problem you actually have. Do not spend money today solving a brewing problem you may discover three years from now.
How My Own Brewing Equipment Changed
My first all-grain setup was BIAB: a 35-liter kettle, a mash bag and the basic equipment needed to ferment and package the beer. The pale ale and other beers I made with it turned out better than I expected.
What pushed me to change things was never that the simple equipment could not make good beer. There were simply parts of the process I did not enjoy.
I moved to a DIY Igloo mash tun, improved the heat source and eventually bought a Grainfather G30. Temperature-controlled fermentation and kegging were added as I found more things I wanted to control or make easier.
I would not call that the correct upgrade path. It was mine.
If you are interested in the whole journey, I have written separately about how my homebrew setup changed over my first decade of brewing.
A Simple Rule of Thumb
Start with the brewing method you actually want to try and buy the homebrewing equipment needed to do that method safely and understand what is happening along the way. Add the inexpensive measuring tools that give you useful information, keep everything that matters clean and sanitized, and give yourself a sensible way to package the finished beer.
Then brew. After a few batches, you will have a much better idea whether your next useful purchase is a better kettle, fermentation temperature control, a kegging system, an electronic hydrometer — or absolutely nothing.
You probably need less equipment than you think. You just need the right basics for the way you want to brew.
References
- American Homebrewers Association — All-Extract Homebrewing — accessed October 11, 2026.
- American Homebrewers Association — Brew in a Bag — accessed October 11, 2026.