Clean and Sanitized Are Not the Same Thing
Cleaning and sanitizing are not the same thing. Learn what each step does and how to protect your beer from avoidable problems.
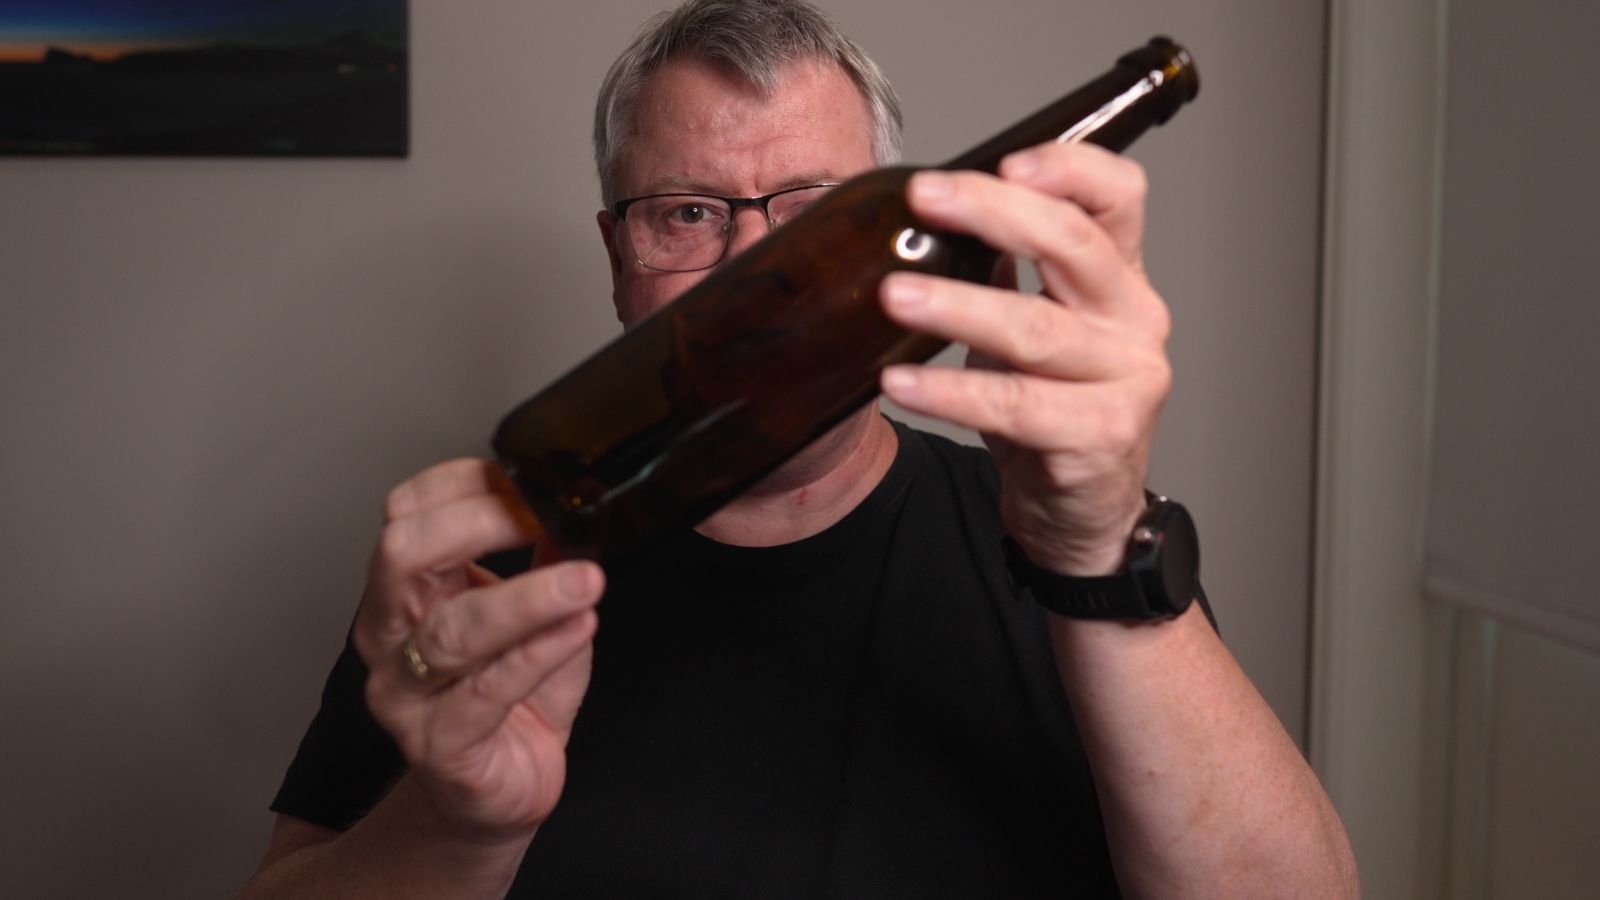
A bottle can look perfectly clean and still ruin a beer you have waited weeks for. The problem is the part you can’t see.
I’ve been brewing since 2015, and cleaning is one of the areas where I’ve learned that shortcuts don’t pay off. When it comes to cleaning and sanitizing homebrew equipment, the important part is simple: clean and sanitized are not the same thing. Mix them up and you can get everything else in the brew right and still have problems later.
If you’d rather watch than read, here’s the full video. It’s in Norwegian with English subtitles, and the article below covers the same idea in a format you can easily come back to later.
Cleaning and sanitizing homebrew equipment are two different jobs
When I say a bottle is clean, I mean I’ve removed everything visible that shouldn’t be there: old beer, yeast, hops, sugar, proteins, and that unpleasant film that forms when something has been left standing too long. Anything you can see or feel.
Sanitizing is a separate job. It deals with bacteria, unwanted yeast and other microorganisms that can be there without any visible sign. The goal is to bring their numbers down far enough that they don’t get the chance to cause trouble in your beer.
Cleaning takes care of the visible mess. Sanitizing takes care of the invisible.
And just so we don’t mix in a third term here: I’m talking about sanitizing, not sterilizing. Sterilizing means killing practically all microorganisms, and that isn’t what we’re after in a home brewery. We need equipment that is properly clean, and anything that touches the beer while it’s vulnerable to be properly sanitized.
That’s also why the order matters. Say you have a fermenter that isn’t properly clean: a bit of old yeast along the rim, some residue on the bottom, maybe something inside the tap you’ve never even seen. Spraying sanitizer over that and thinking “done” doesn’t help much. The dirt can shield exactly what you’re trying to get rid of, so the sanitizer never reaches it properly.
Clean first. Then sanitize.
It sounds almost too simple when I put it like that. But it’s surprisingly easy to mix the two up, especially with bottles.
Bottles: where it’s easiest to mix them up
You pick up a bottle that looks spotless and hold it up to the light. Nothing there. No odd smell, nothing on the bottom. It looks finished, and it’s natural to think, “that one’s ready.”
This is exactly what’s annoying about sanitizing: you can’t see whether you’ve done a good job. A bottle can look perfect and still have things on the inside you really don’t want anywhere near your new beer.
Clean right after emptying
The easiest job happens long before bottling day. If I’ve just emptied a bottle, rinsing it straight away takes hardly any time. Leave that little bit of beer and yeast to dry in the bottom for three weeks and you’ve handed yourself a much duller job later.
So I rinse the bottle and look down into it. If anything is left inside, it goes. Soaking, a bottle brush or a suitable cleaner, it doesn’t much matter which. The point is that I don’t move on until the bottle is clean.
It’s easy to get tunnel vision about the product: what’s the best cleaner? But a product only helps if the result is actually clean. If your cleaner needs rinsing, you rinse it off afterwards. PBW is a well-known example, a cleaner made to help loosen things like organic soil and deposits. It still doesn’t do the same job as a sanitizer.
Sanitize just before use
When bottling day comes and I already know the bottle is clean, I’m ready to sanitize. This is also an easy step to get a bit sloppy with. The sanitizer has to reach the entire inside surface the beer will touch. A little splash in the bottom and a half-hearted shake won’t do it. The whole inside needs contact with the sanitizer, and then you need to give it time to work.
How long depends on what you use, which is why I’m not going to hand you a magic number of seconds that supposedly fits everything. Read the label. It’s the simplest solution there is.
The same goes for how strong you mix it. It’s tempting to think that if a little is good, more must be better, but that’s not necessarily how it works. Use the mixing ratio the manufacturer gives. It’s printed right there on the bottle.
And if you use a no-rinse product, one that isn’t meant to be rinsed off once it’s mixed and used correctly, don’t rinse it afterwards just because rinsing somehow feels more “proper”. You’ve just done the whole job properly, and rinsing only brings in one more thing that touches the surface afterwards.
Fermenters, taps and kegs: the places dirt hides
Bottles are actually the easy part, because you can see so much of the surface. The rest of the brewery is where it gets more interesting.
Take a fermenter. It’s a big open container, so it’s fairly easy to judge whether the bottom and walls are clean. Then you start looking at everything around it: a tap, a gasket, a lid with small crevices, a hose connected somewhere. Those are the places I’d be most curious about. They can look perfectly clean from the outside, but if beer, wort or yeast has gotten in somewhere, gunk can be left behind there too.
If the tap can be taken apart, it’s good to know what it looks like inside. If you have a gasket you can take out, it can be quite educational to see what’s behind it once in a while. Not because you need to get paranoid about it — you really don’t. But you should have some idea of where your beer has been.
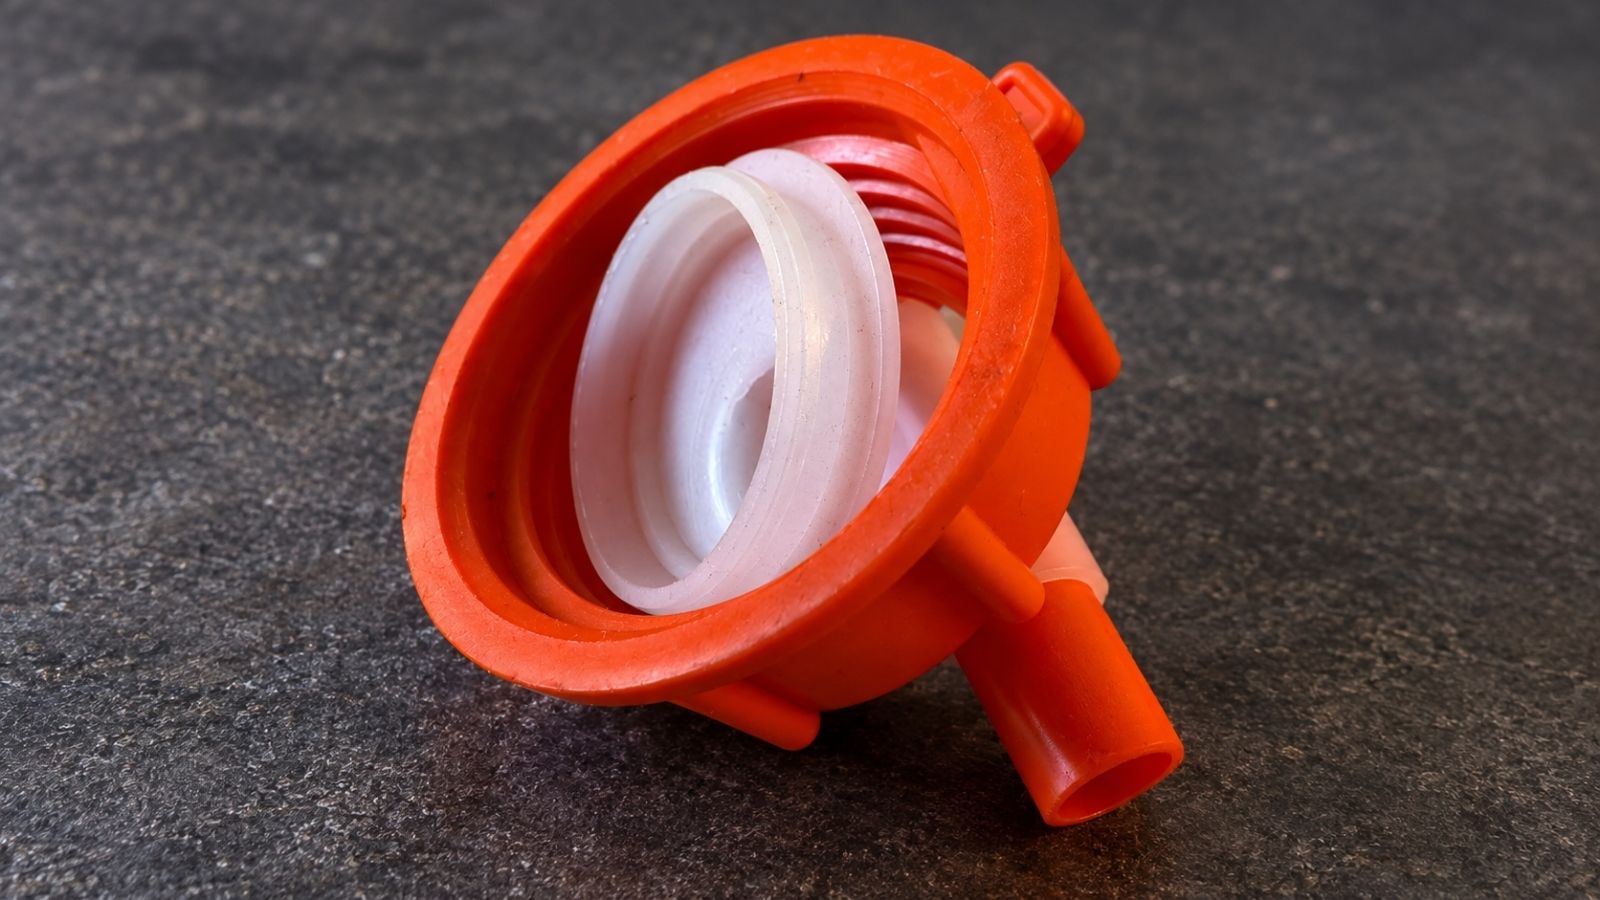
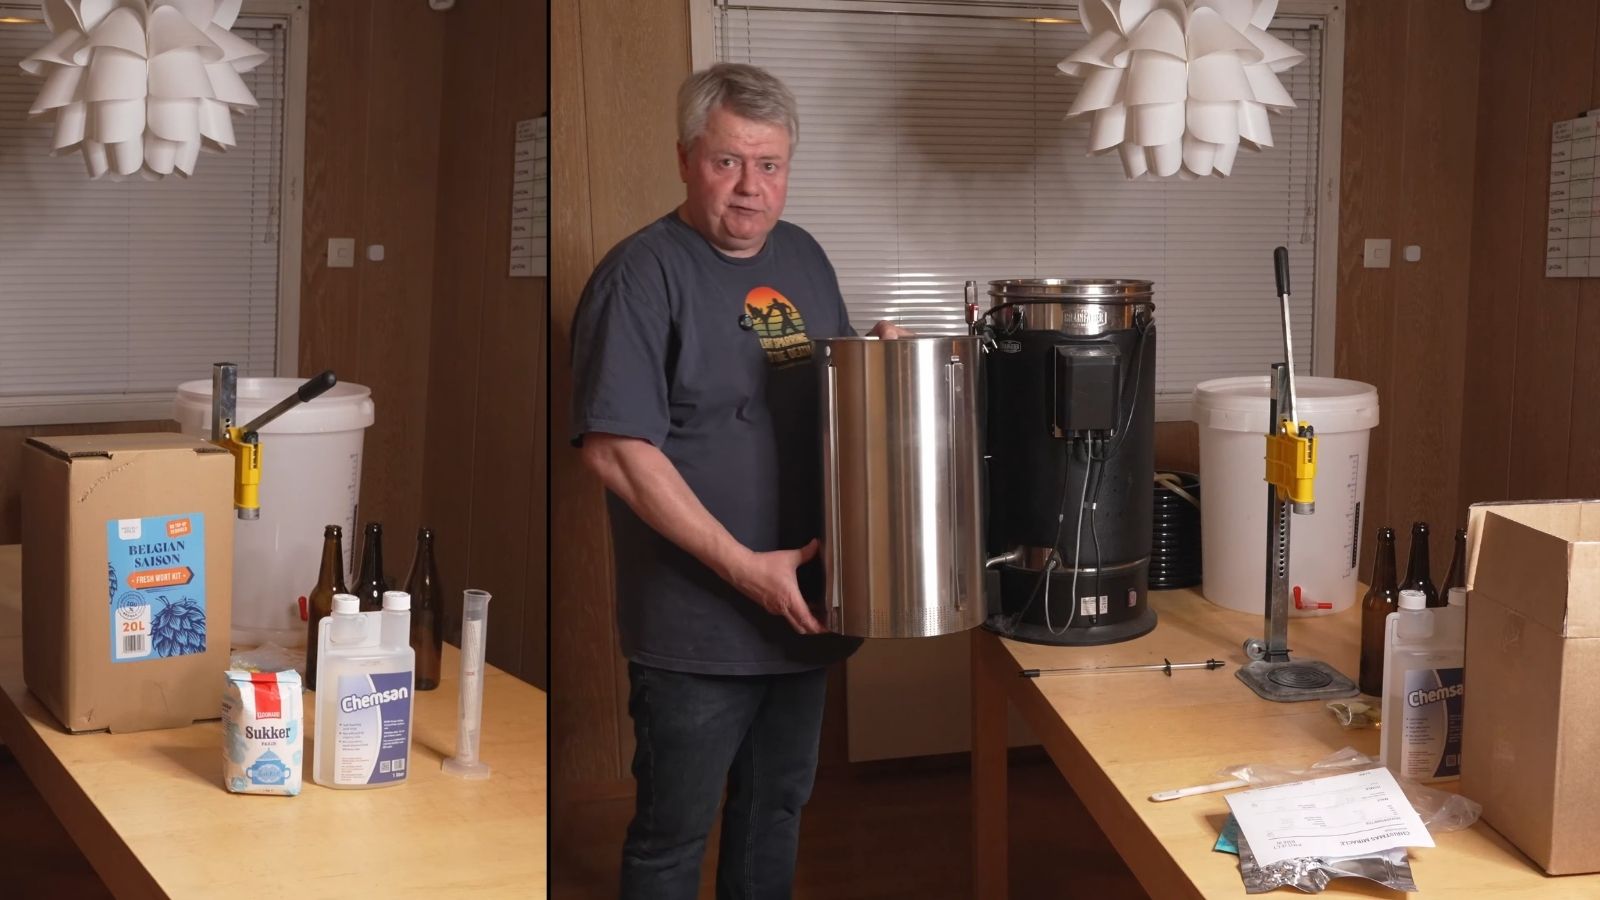
I use simple 30 litre Speidel fermenters myself — you can see the rest of my current homebrewing setup here.
Kegs are the same story: gaskets, couplings, dip tubes, threads, small places you can’t easily see into.
And no, that doesn’t mean you should dismantle the entire brewery every time you’ve had a pint. But if there’s a place the beer has actually been, you should also have a plan for getting it clean.
Sanitizer isn’t magic.
If there’s old buildup underneath, you can’t spray your way out of a poor cleaning job.
A rule of thumb: before the boil, after the boil
Luckily, you don’t need 50 rules for this. Before the boil, make sure things are clean. After the boil, start thinking much more about sanitizing.
The reason is simple. The wort has just been boiled, but then we cool it down, and suddenly we have a nutrient-rich liquid that we very much want to hand to one particular organism: our yeast. We’d rather not invite a whole crowd of other guests along at the same time.
From that point on, I care much more about everything that touches the cooled wort. The fermenter, the hoses, anything you stir with, anything you take a sample with. When the beer later moves on to bottles or a keg, the same thinking applies: the bottle is clean and sanitized, the keg is clean and sanitized, and so is the hose the beer passes through.
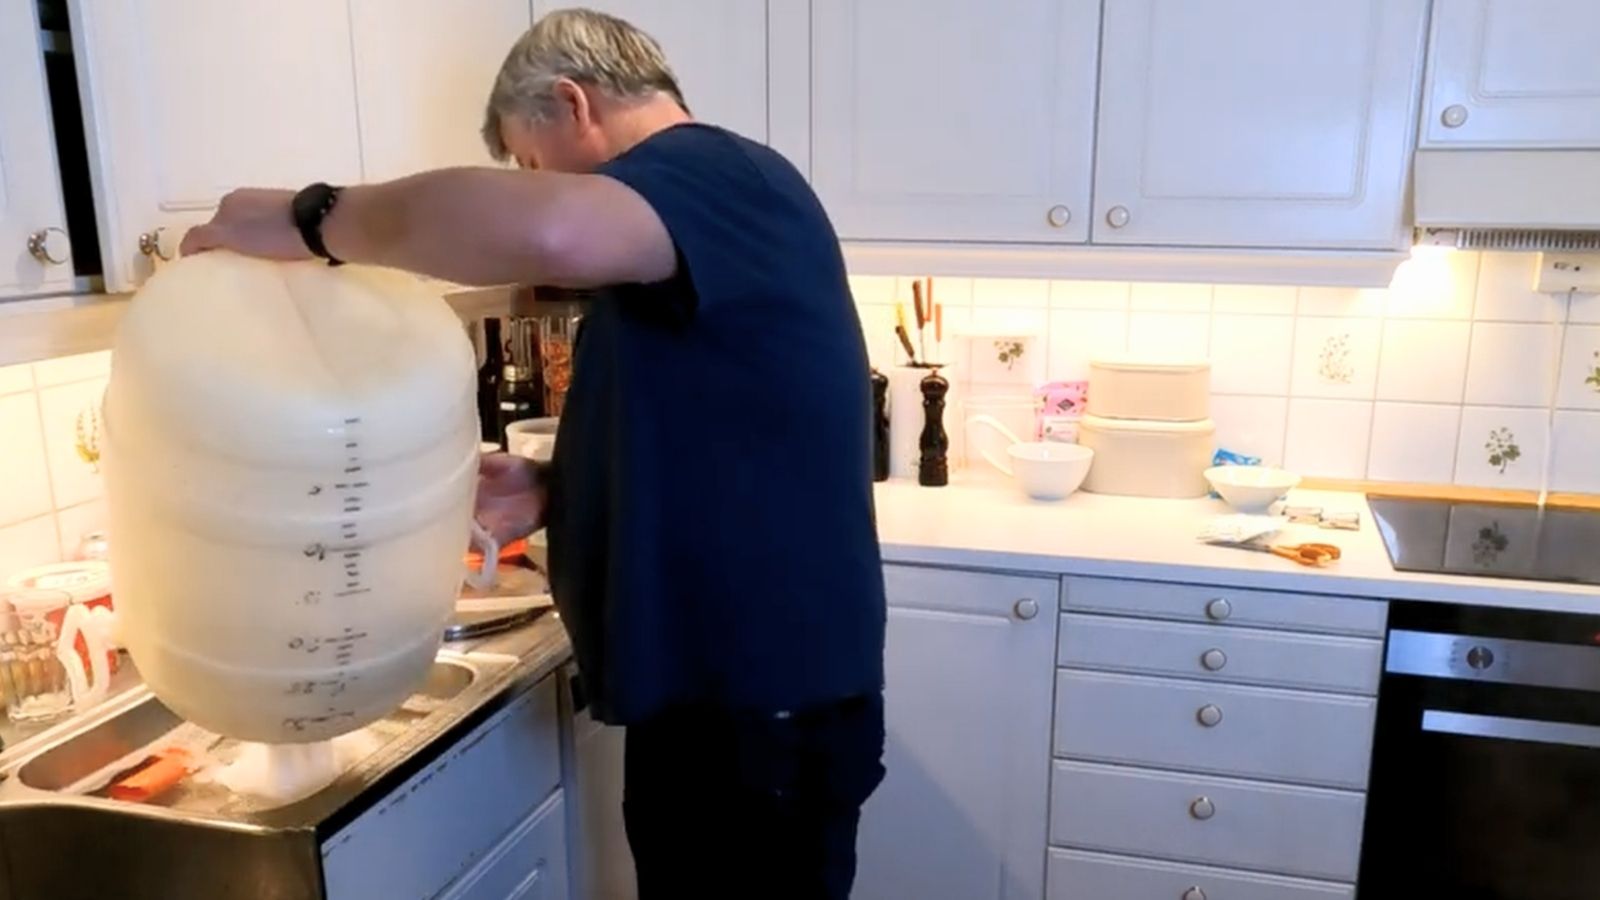
You don’t need to run around with a spray bottle sanitizing everything you can see all through brew day. Ask yourself one question: does this thing touch the wort or the beer after the boil is finished? If the answer is yes, that’s where you need to be extra careful.
If you want to see where that hot-side/cold-side divide fits into an entire brew day, my guide to the whole homebrewing process follows the beer from mash and boil through chilling, fermentation, and packaging.
Clean it as soon as you’re done with it
Most of us know this part in theory: clean it when you’re done. The problem is that by then, you’re usually done with the whole brew day too. The last thing you want is to start peering into a sticky hose. You’d rather sit down and relax.
But that hose is far easier to get clean now than tomorrow, and definitely easier than in a week. The same goes for fermenters, bottles and pretty much everything else. What rinses off in a few seconds while it’s still wet can turn into a properly irritating job once it has dried on. Do your future self a favour and take care of it while you’re at it. And the next time around is a lot less hassle.
Safety with cleaning and sanitizing chemicals
Don’t mix cleaning or sanitizing chemicals unless the manufacturer explicitly tells you to. This is one of those cases where the label on the bottle is actually decent reading. If it says to wear gloves or eye protection, you do. If it requires good ventilation, you make sure you have it. There’s no reason to make this part more exciting than it needs to be.
The short version
- Clean after use.
- Sanitize before use, especially anything that touches cooled wort or beer.
- Follow the product instructions for concentration, contact time and rinse or no-rinse.
That’s the routine: clean after use, sanitize before use. Get that in place, and you’ve removed one completely unnecessary risk to a beer you’ve already put time and money into.
References
- Five Star Chemicals — “Star San” — https://fivestarchemicals.com/star-san — Accessed 2026-09-21
- Five Star Chemicals — “PBW Cleaner” — https://fivestarchemicals.com/pbw — Accessed 2026-09-21
- John Palmer — How to Brew, Section 1, Chapter 2: “Brewing Preparations” — https://howtobrew.com/section-1/chapter-2/ — Accessed 2026-09-21
- Christian Lavender — “Sanitizing Hard to Clean Equipment” — Brew Your Own, December 2014 — https://byo.com/articles/sanitizing-techniques/ — Accessed 2026-09-21